How to Capture Dramatic Photos Above the Clouds
Madeira Landscape Photography
Now, in order to capture moments above clouds or fog, you have to find them first. In some places, this can be an easy task, while in others it can be a rare occurrence.
Cloud inversions are common in mountainous areas and are often seen during the winter months. They occur when a layer of warm air sits on top of a layer of cool air near the ground, creating a stable atmosphere where the cool air is trapped beneath the warm air. As moist air rises from the cool layer, it cools and condenses, forming clouds that can appear as a flat layer of fog or low-lying clouds hovering just above the ground.
The marine layer, on the other hand, is a mass of cool, moist air that forms over the ocean and moves inland, often causing low-lying clouds and fog along the coast. This phenomenon is most common in the summer months when the land is warmer than the ocean, causing the cool air over the ocean to move towards the warmer land. The marine layer can be predicted by looking at the temperature and humidity levels over the ocean and comparing them to those over the land.
To predict a cloud inversion, it’s important to monitor the temperature and humidity levels at different elevations. If the temperature near the ground is colder than the temperature at higher elevations, and the humidity is high, there is a good chance that a cloud inversion will form.
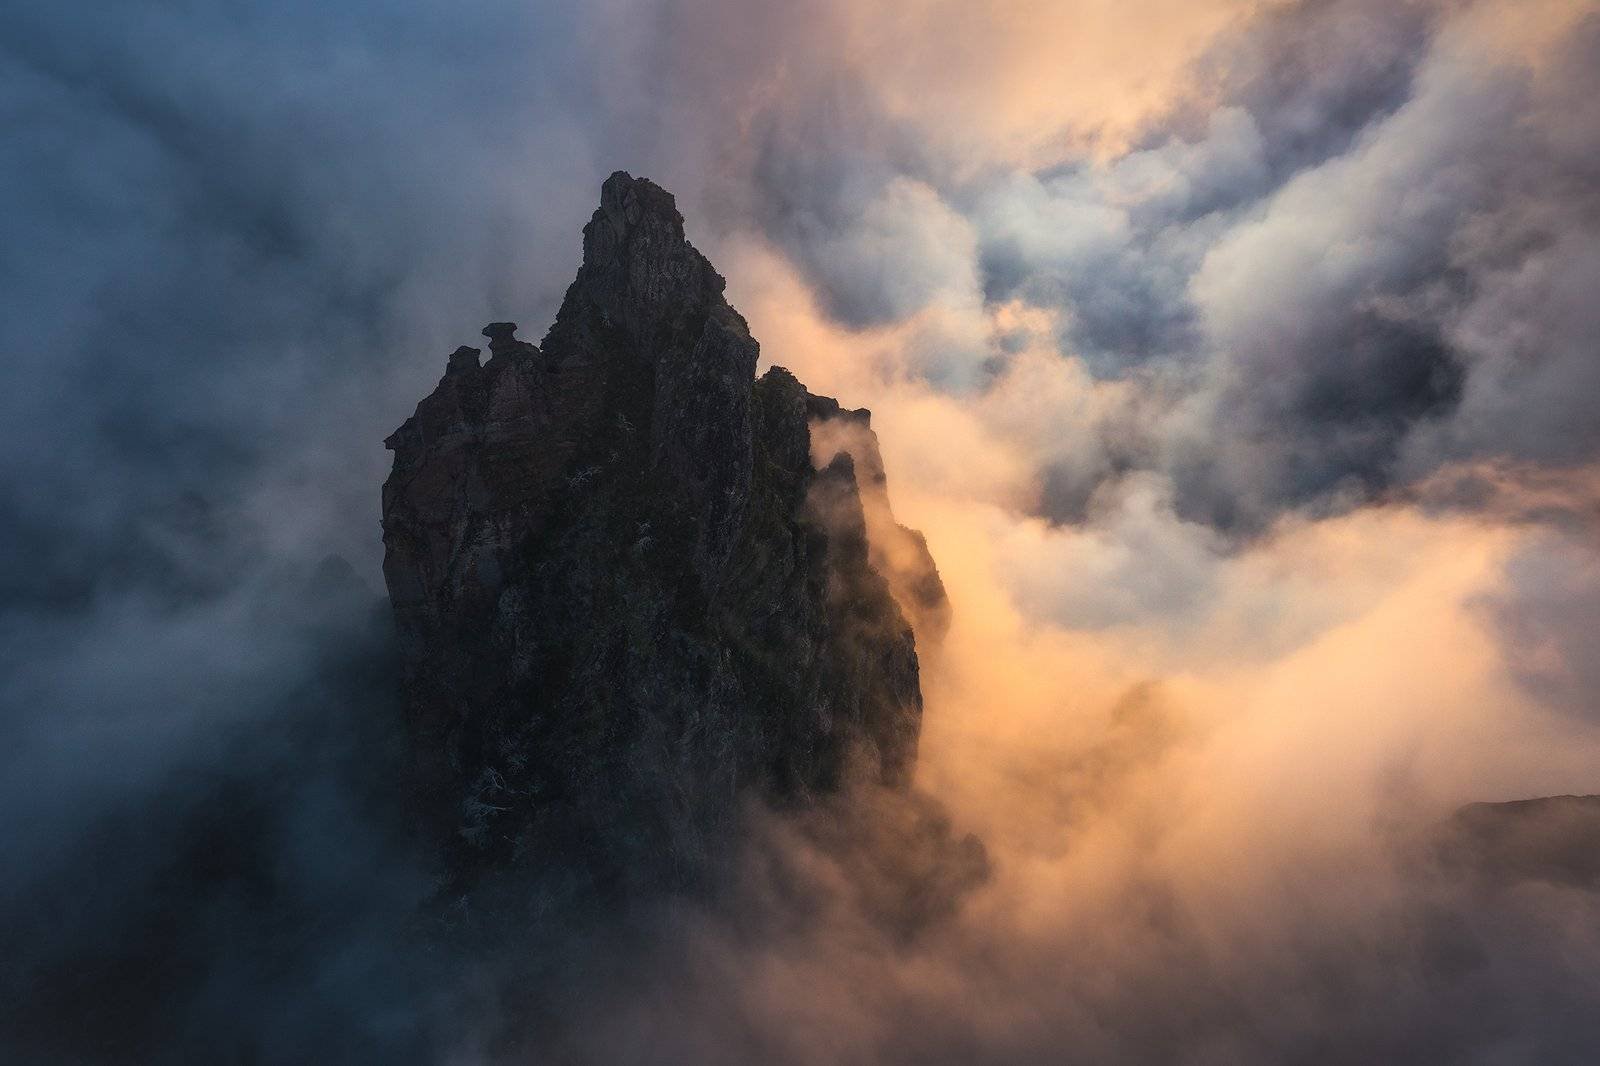
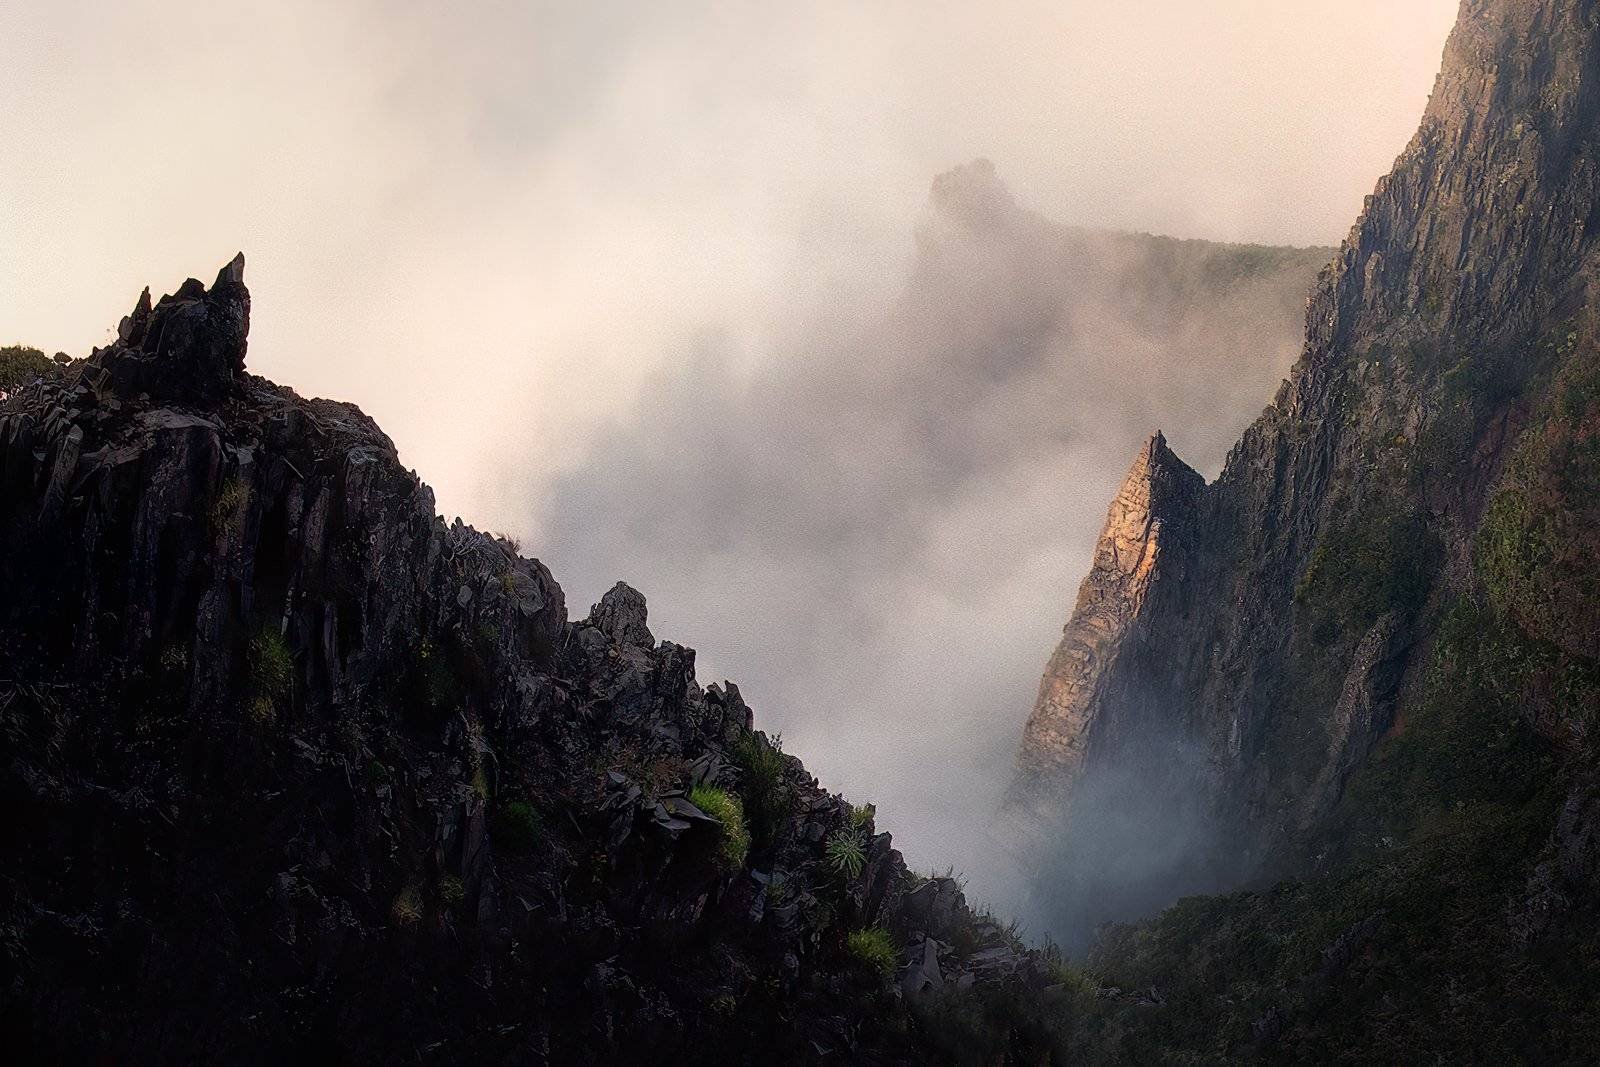
Cloud inversions are common on top of the Madeira mountains, a volcanic island chain located in the Atlantic Ocean off the coast of Portugal. But no matter where you are, it’s a good idea to keep an eye out for nearby mountains and use tools like Google Earth to check the elevation and terrain. Google Earth provides a great 3D view of the landscape and allows you to mark spots for future reference. I do this for every trip I go on, just in case I encounter a good opportunity to get an inversion.
Some other tools I would recommend are trail sites like Alltrails, checking the weather via apps like Windy.com, and looking up local webcams at the place you are photographing.
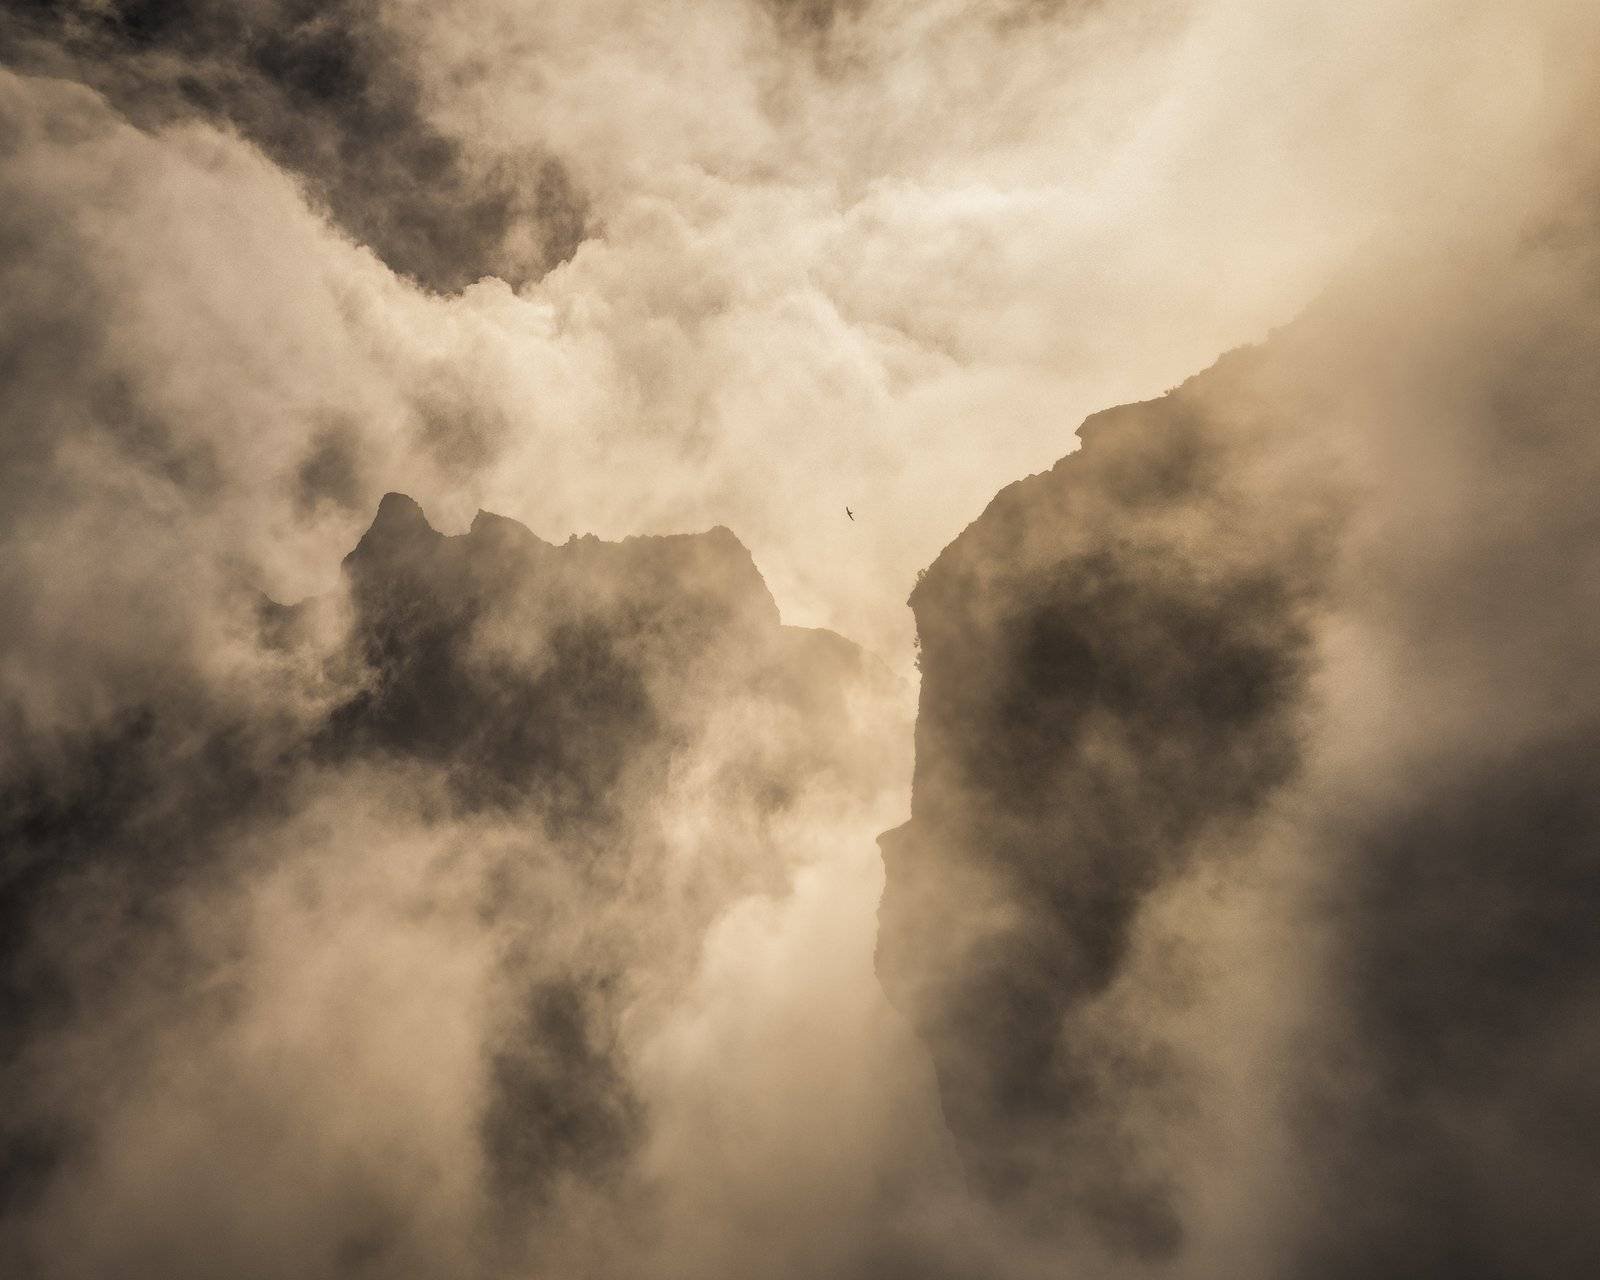
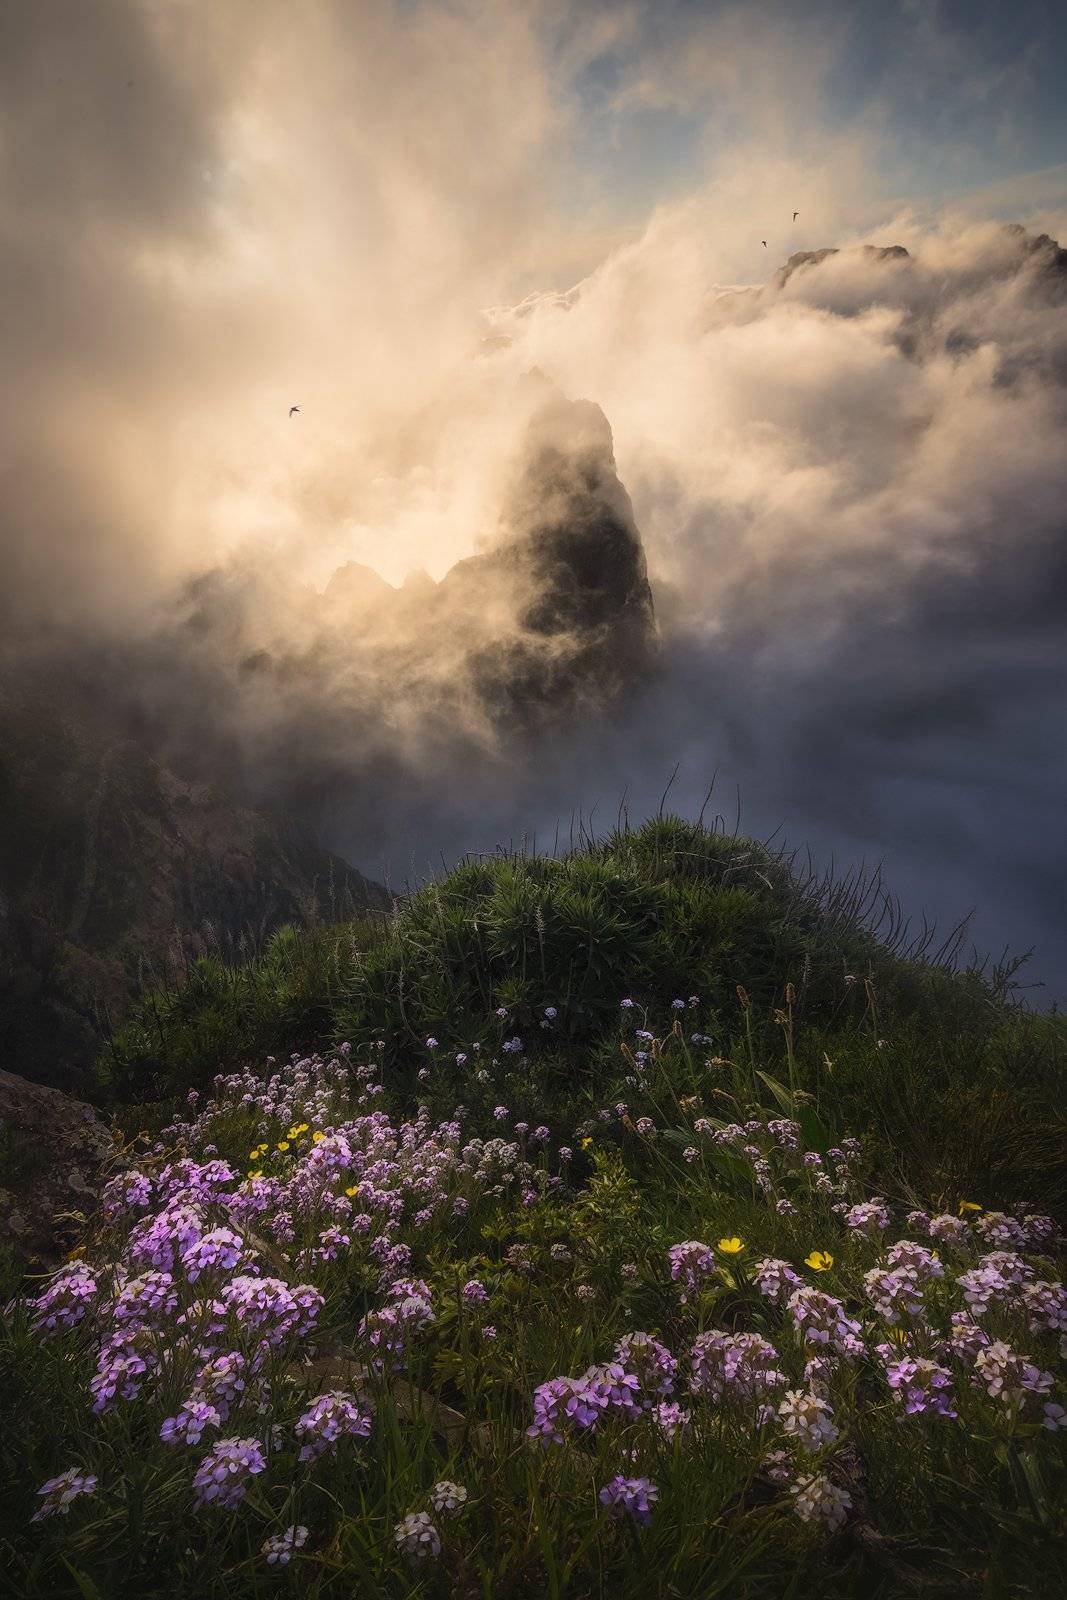
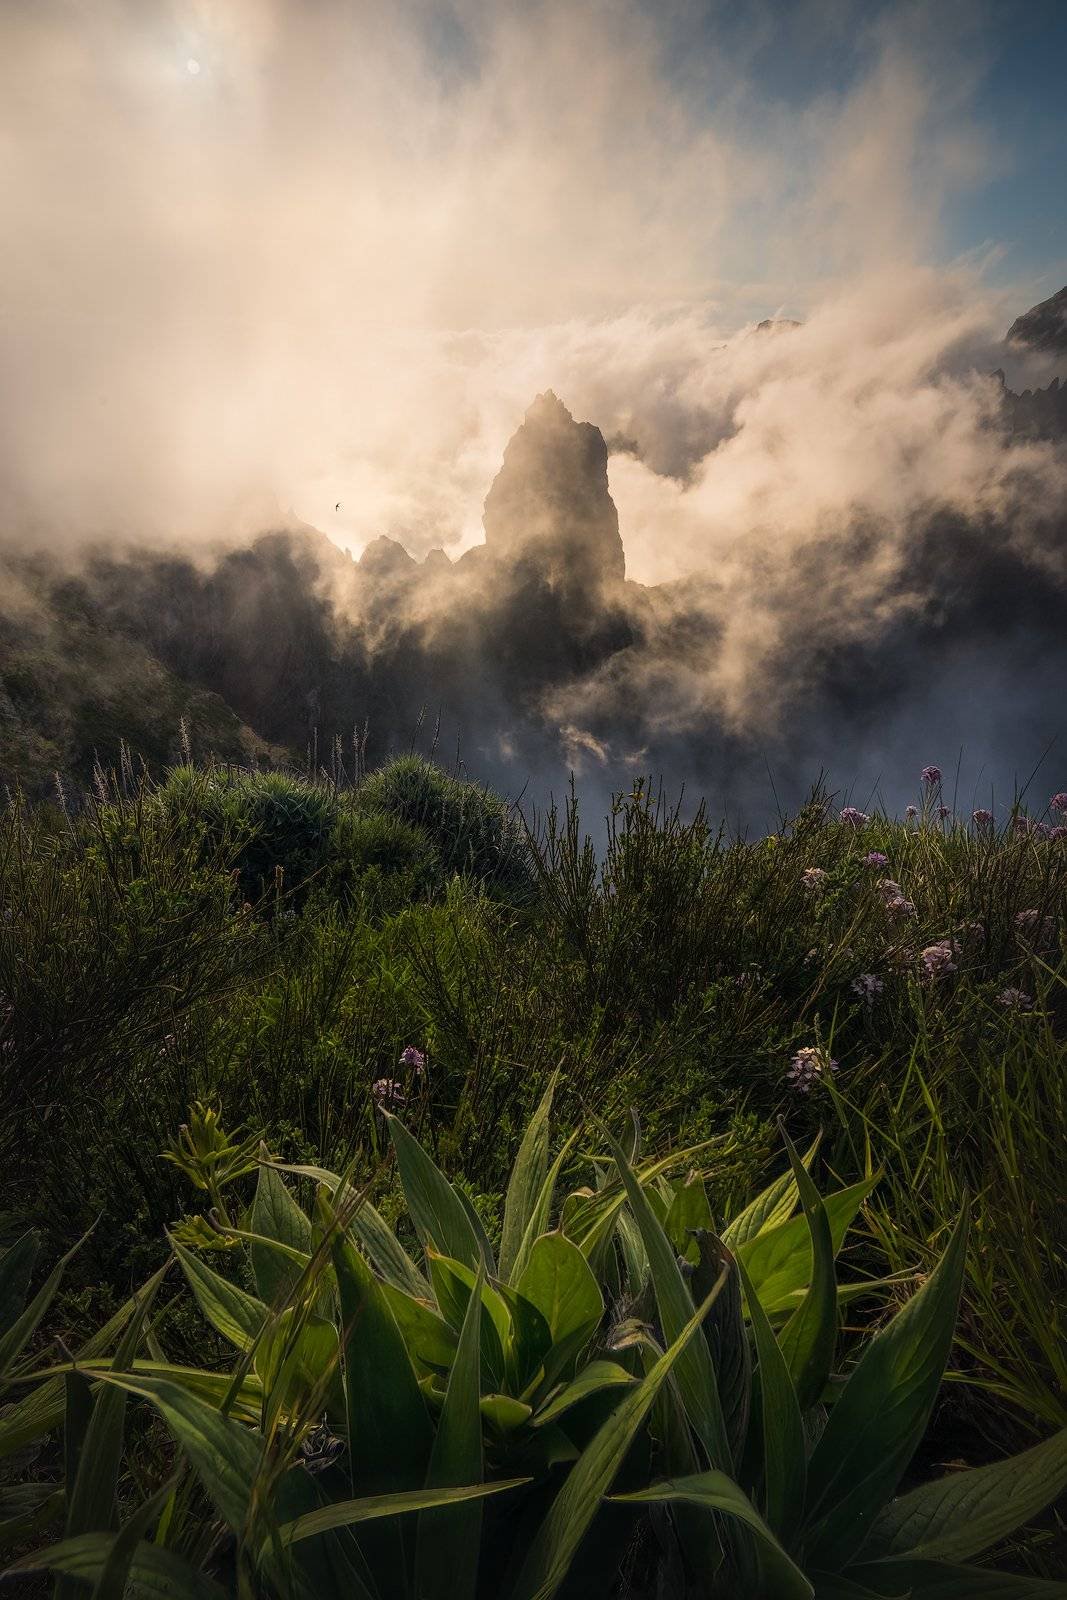
For technical details, I brought a variety of equipment with me. My 16-35mm lens was perfect for getting dramatic wide-angle scenes, including the foreground flowers and the peaks. My telephoto 100-400mm lens was absolutely perfect for hiking around and picking out little scenes in the distance. This allowed me to simplify the compositions, focusing on specific shapes and textures. Since it was still early and bright out, I was also able to handheld those shots. If I could bring any lenses on a fog adventure, it would be those two. In addition to that, I also had my drone and some extra equipment for fun.
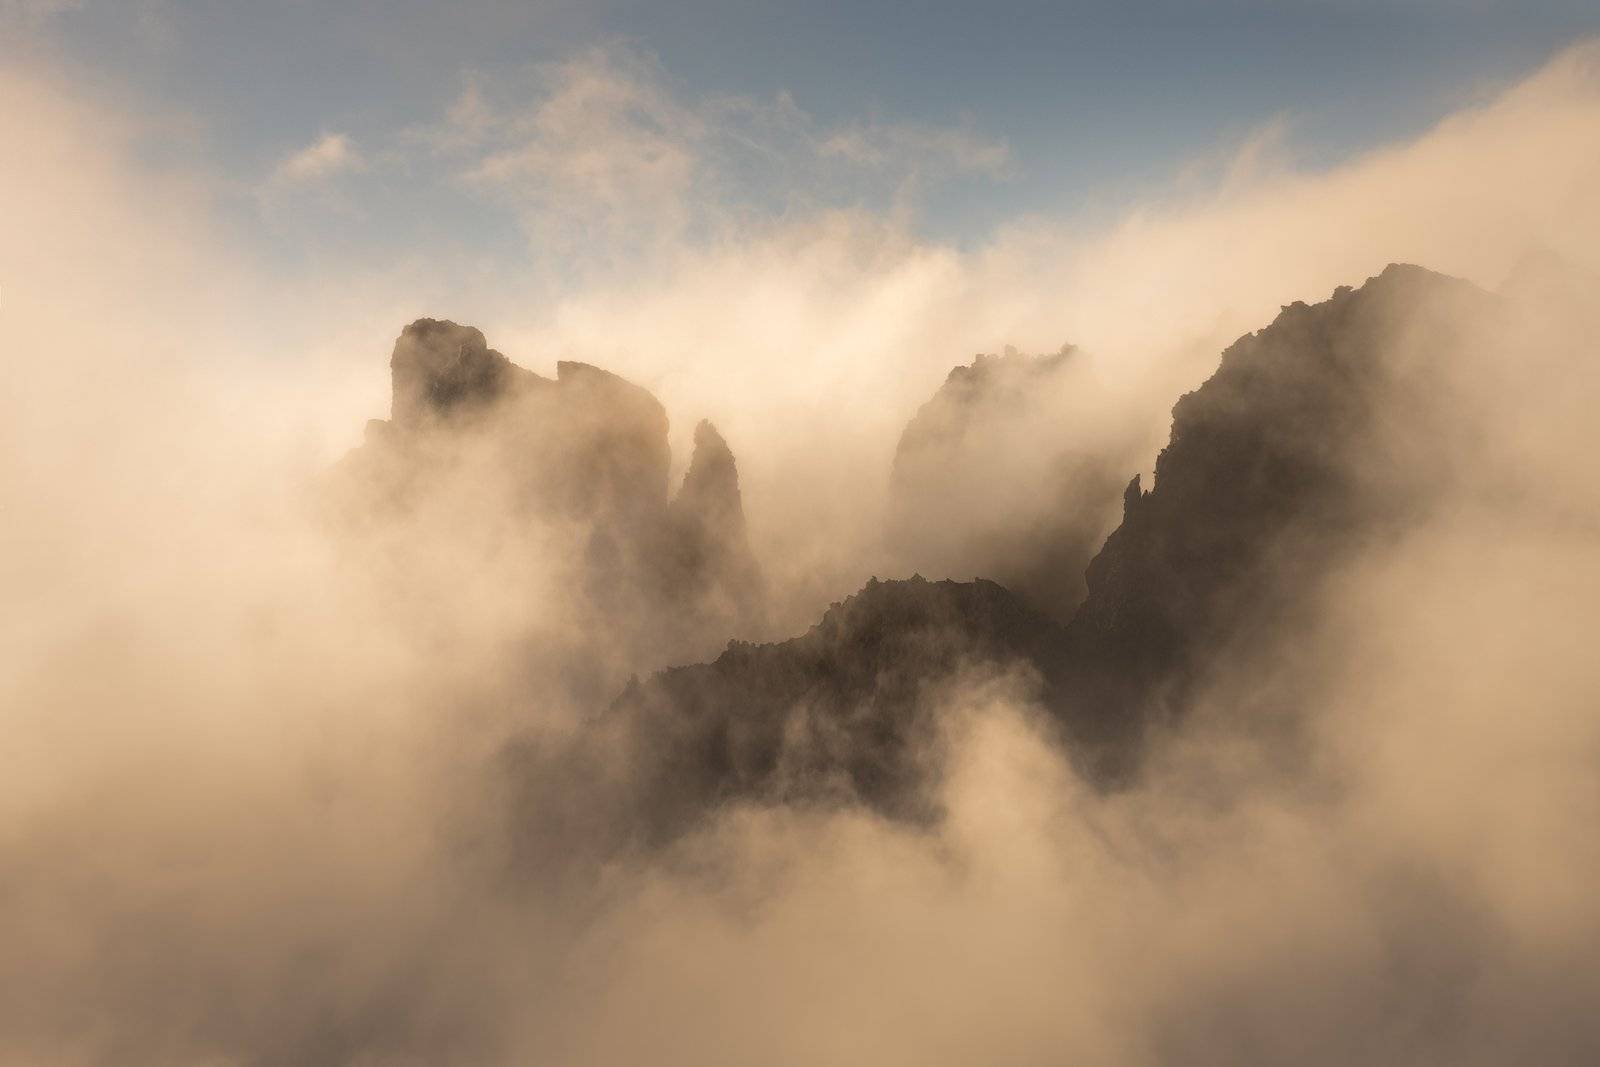
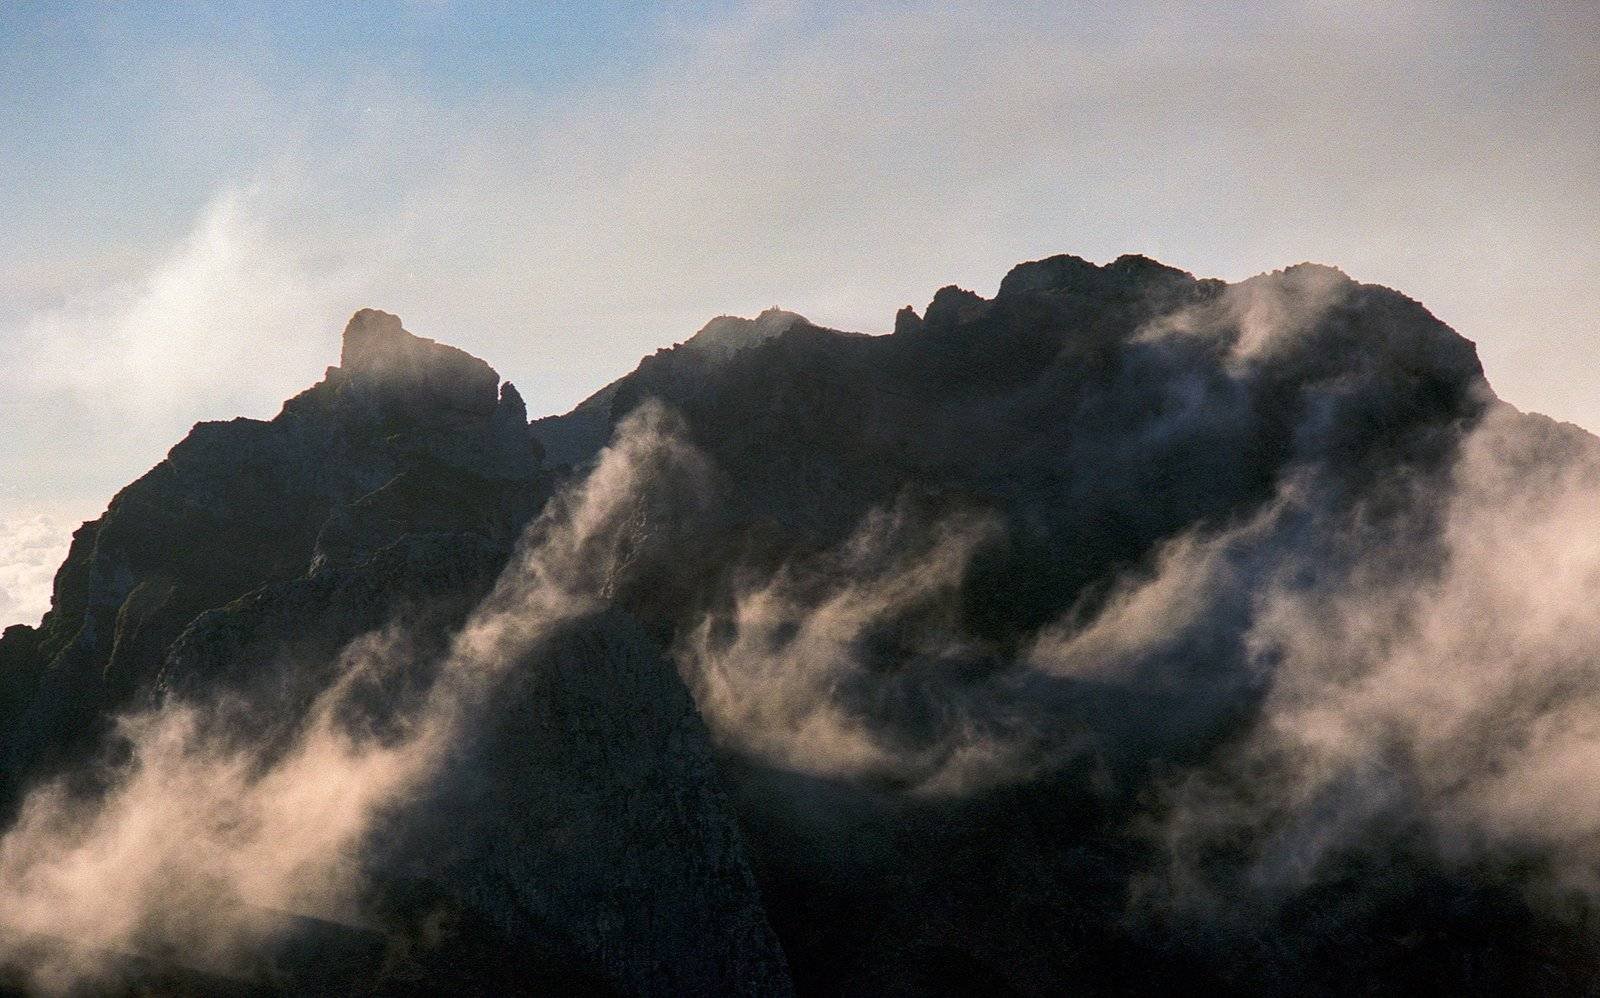
Once you have the ideal conditions above the fog or clouds, one of the biggest challenges is staying vigilant and being ready for spontaneous moments. That’s why on this hike, I found myself holding my camera for most of it, rather than putting it back into my bag. Some of my favorite shots happened within split seconds. I slowly hiked the trail, keeping watch and constantly looking around. As I was hiking, I paid attention to how the light was shifting and interacting with the clouds. This helped me anticipate and prepare for moments when the mountains would reveal themselves.
Another tip I can give is to spend a lot of time in the landscape, as much as possible. I spent about four hours capturing the fog on this trail, which allowed me to experiment with different compositions, techniques, and to explore and scout the area. This tip can apply to any type of landscape photography, but it’s especially important when you are shooting in constantly changing conditions. Spending a significant amount of time in the landscape also you to appreciate the beauty of nature and understand the environment better. It can be a meditative experience that allows you to connect with the surroundings and capture the essence of the place. Moreover, when you spend more time in the landscape, you are more likely to come across unexpected photo opportunities.
The third tip I can give is to be patient. Capturing images like this takes time, as mentioned before. But much of that time can be spent just waiting for conditions to line up. There were many moments when the peaks were covered in clouds. It’s easy in those moments to get discouraged and move on to something else or start heading back. The best thing you can do is power through and wait it out. You are never guaranteed that the conditions will come back or line up. But at least you are giving yourself the opportunity and the best chances. At the very worst, at least you are waiting around in a beautiful place. Bring some snacks and enjoy the moment.
The more you put into the landscape, the more a landscape will give back to you. Get out there and have fun!


I love the compositions of your shots. I would be very interested in some of your workshops on photo stacking. Keep up the good work.