My Favorite Techniques For Capturing Waterfalls
And how to shoot waterfall photography/long exposures
In this new landscape photography video, I teach you how to shoot waterfall photography, and I share my absolute favorite technique for capturing them! I also share some technical tips and creative advice. I really hope you enjoy the video!

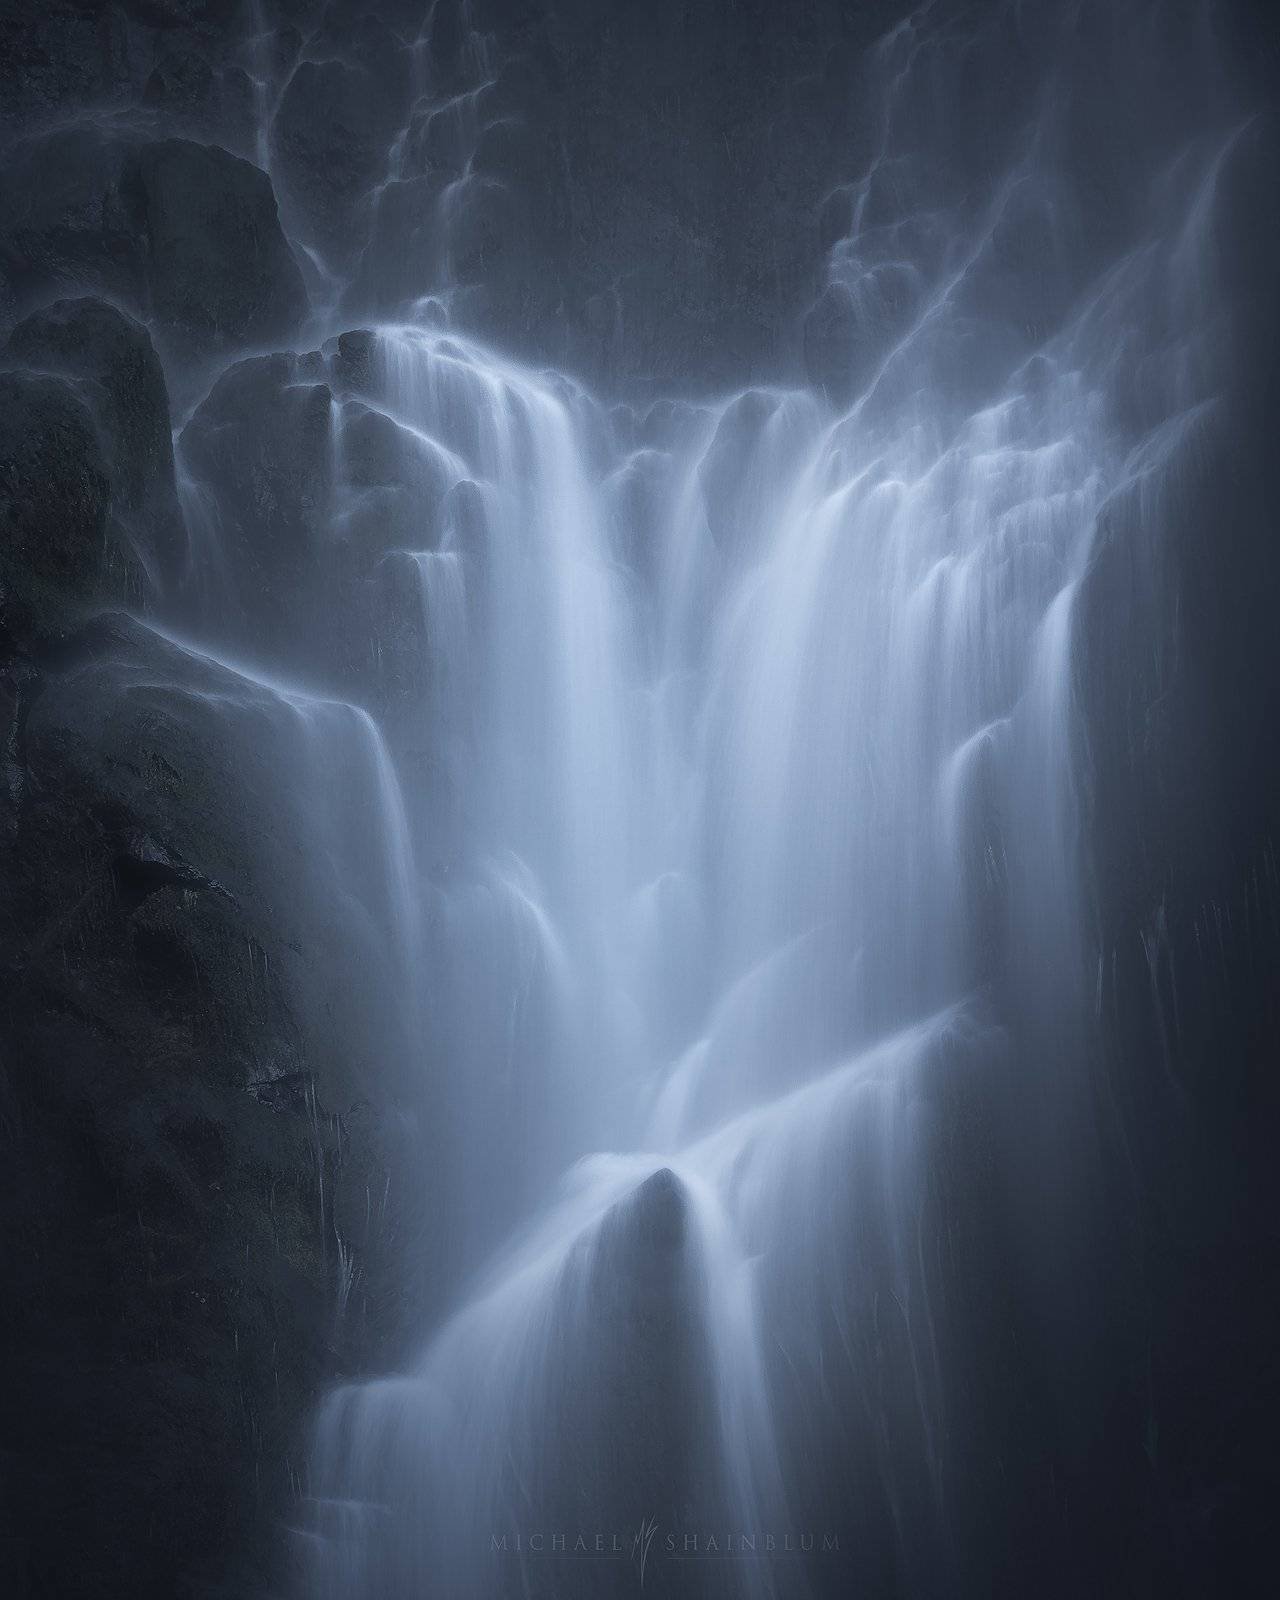
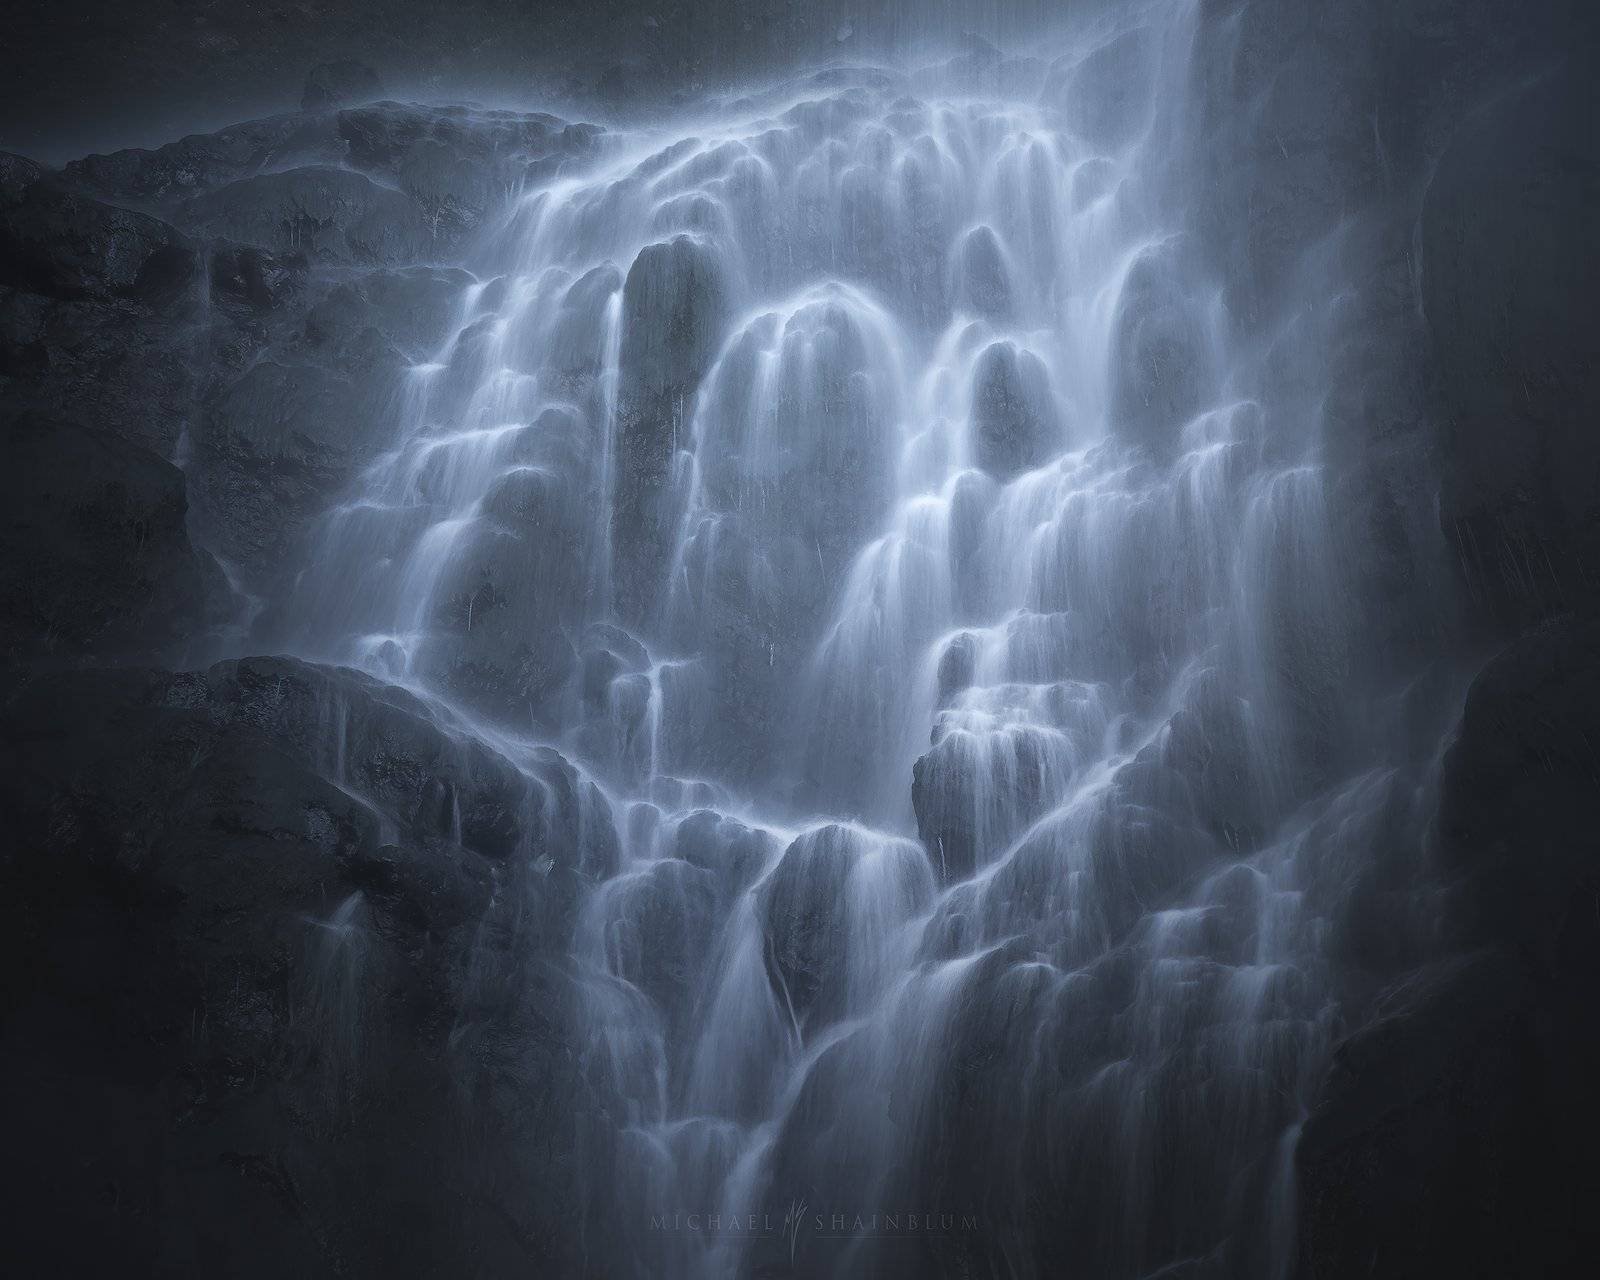
My absolute favorite technique for capturing waterfalls is using my Telephoto lens to pick out different sections of the falls. This allows me to isolate different areas to focus on patterns and shapes. This also allows me to create different stories for the photograph beyond just “Here is a photo of a waterfall” I will dive into this a bit more later on.
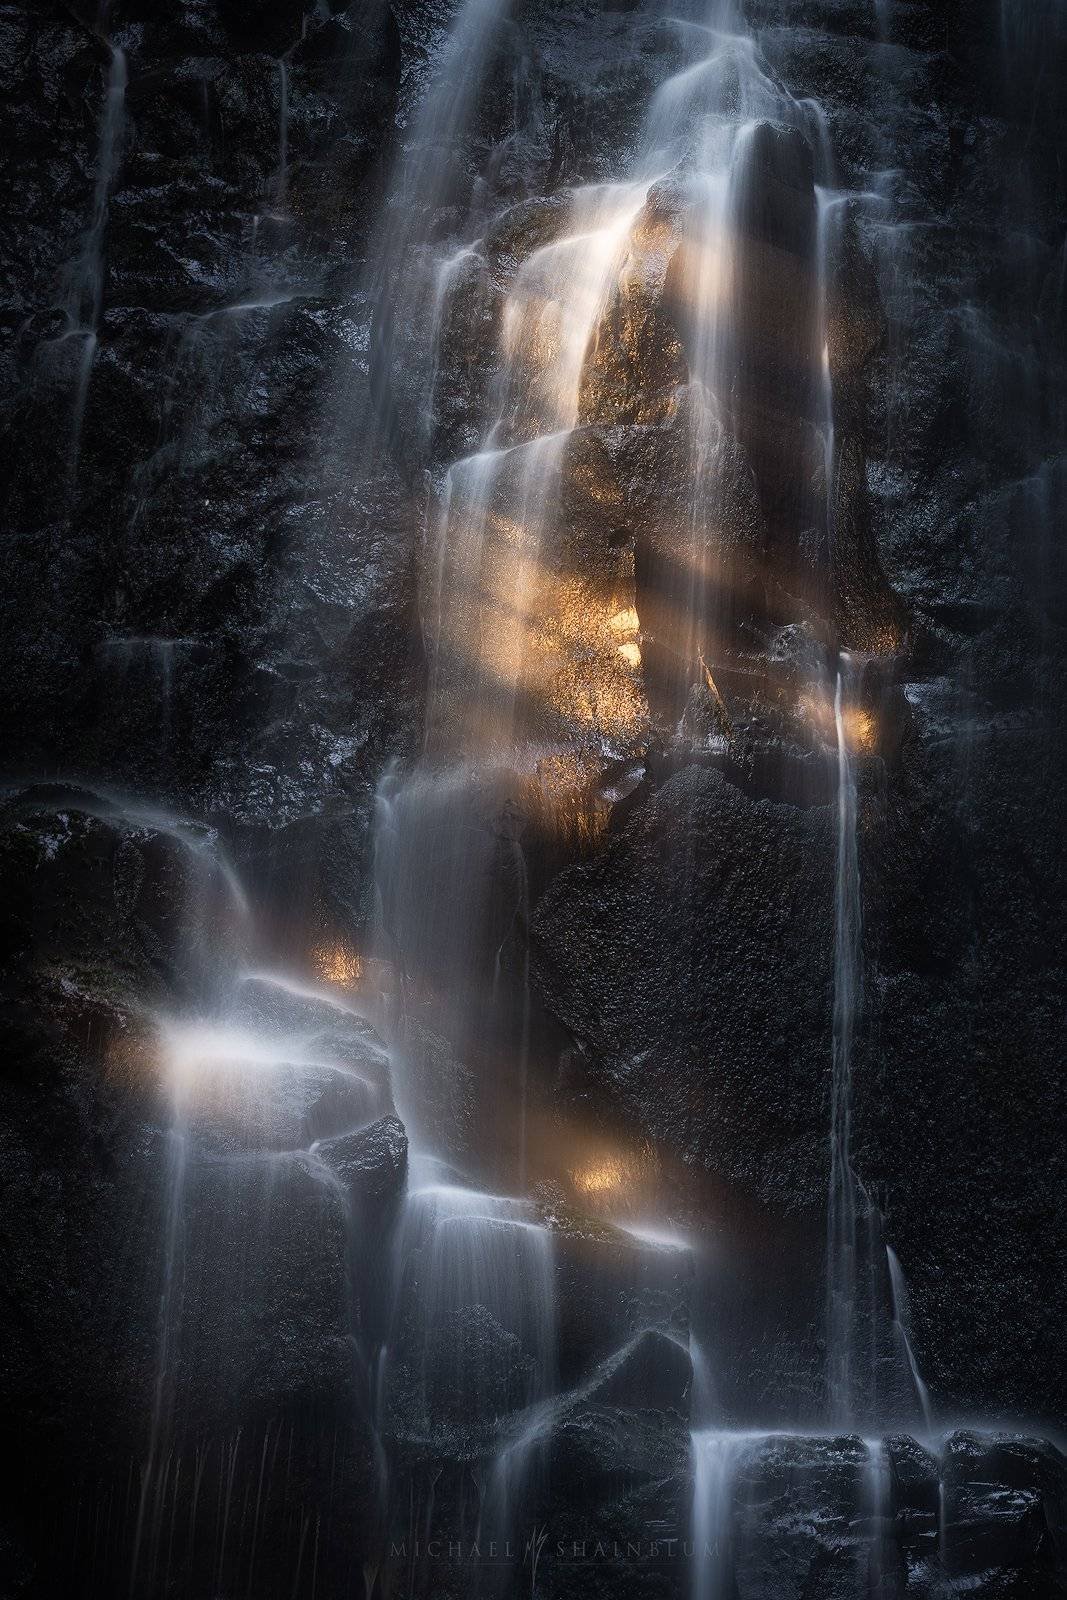
The sunset glow in this area of the falls created a beautiful spotlighting effect. It was absolutely incredible. With my wide angle lens, these speaks of light were far too small in the frame and create more of a distraction to the image. When zoomed in with the telephoto lens it added so much fantasy to the scene. I ended up titling this image and the series “Goldrush”.

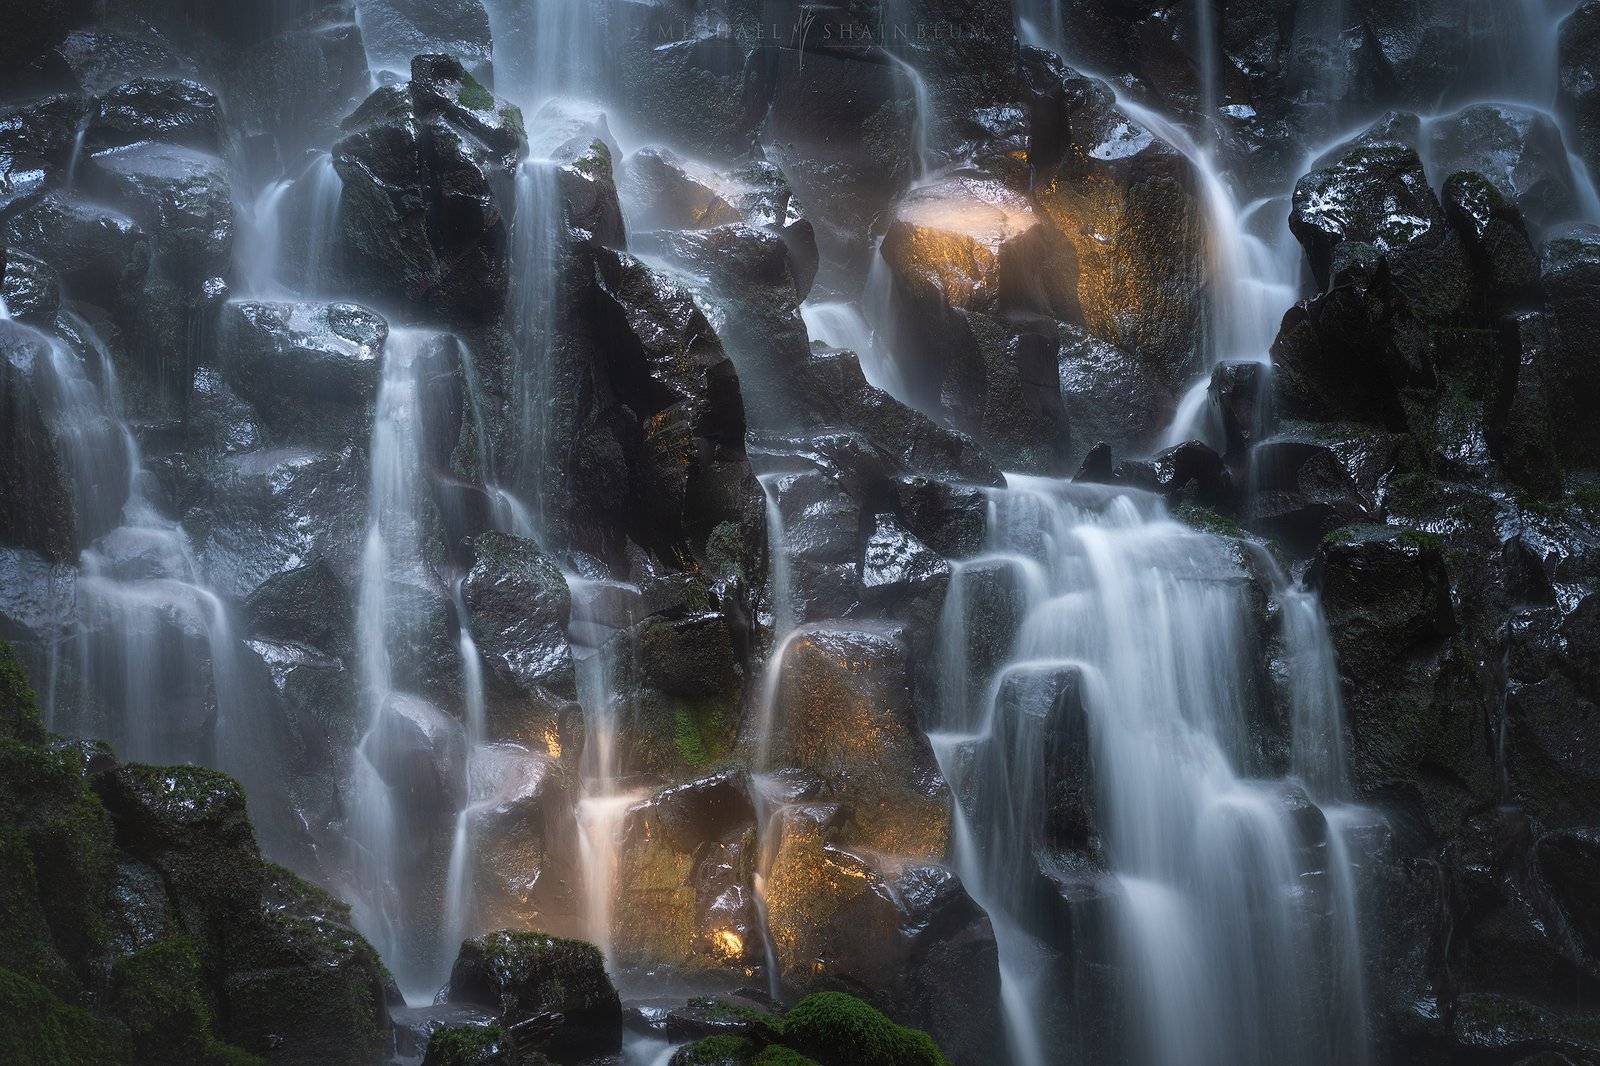
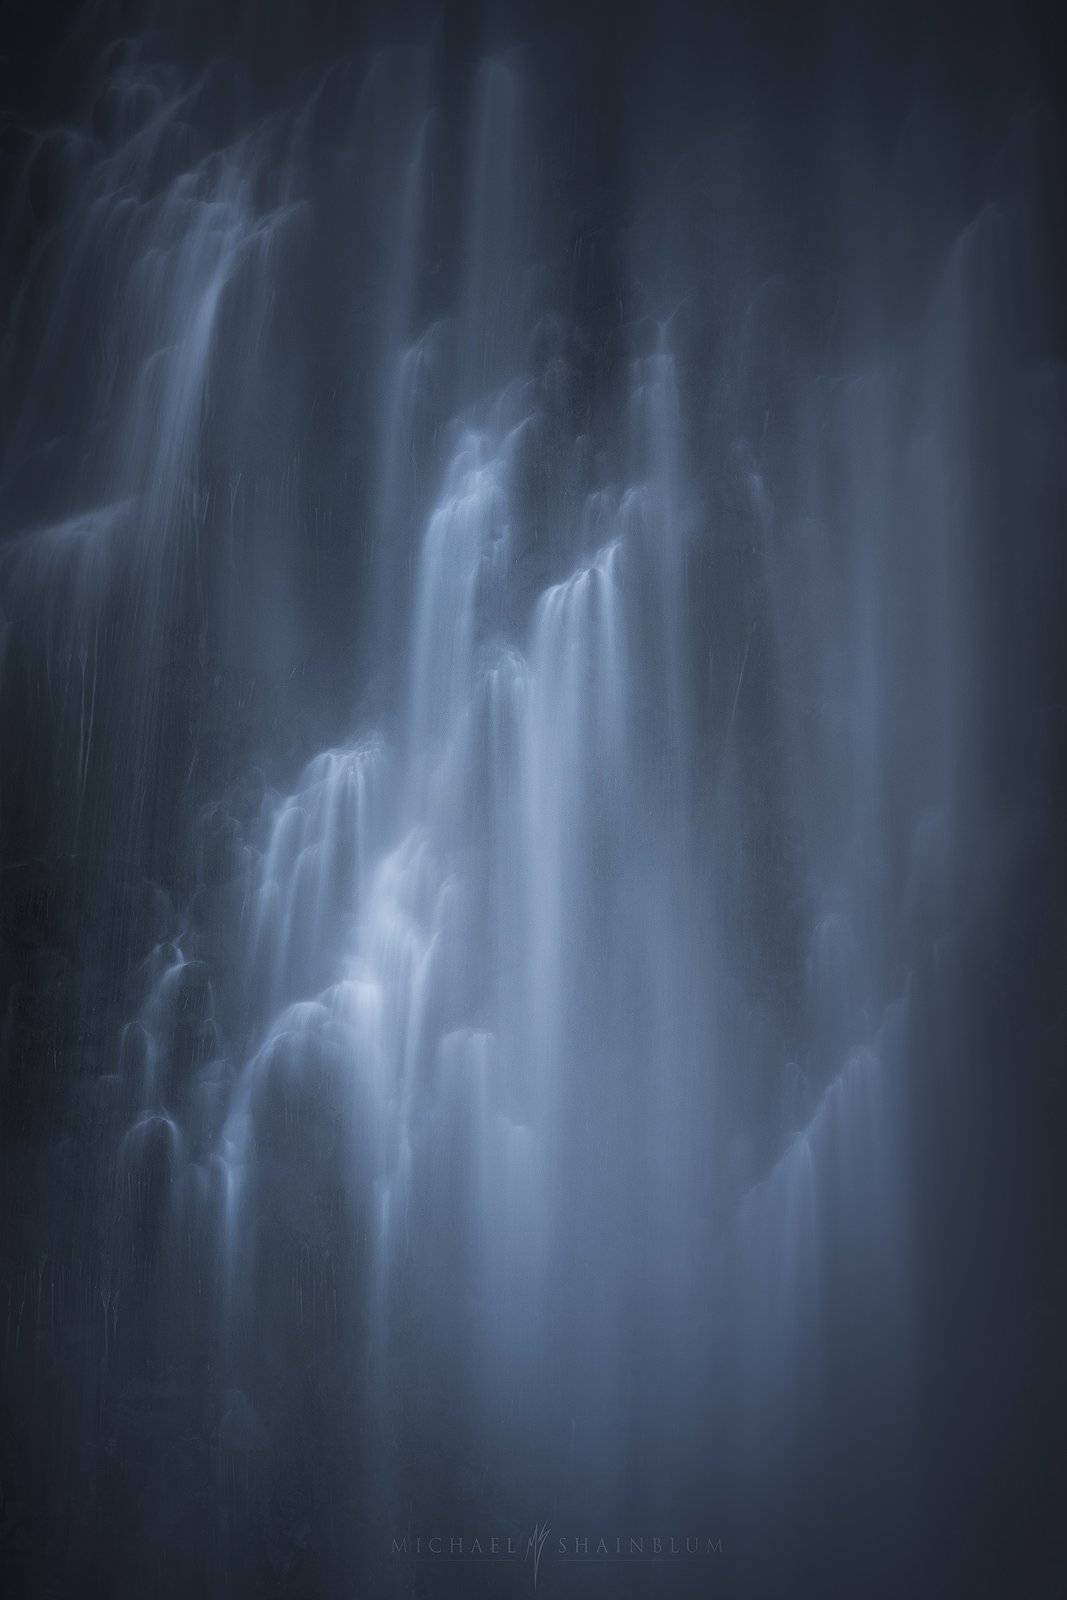
After that golden light died down, the waterfall became diffused. It was a little less dramatic, but still gorgeous to photograph. The soft lighting here worked really well to give the image a nice monochromatic look.

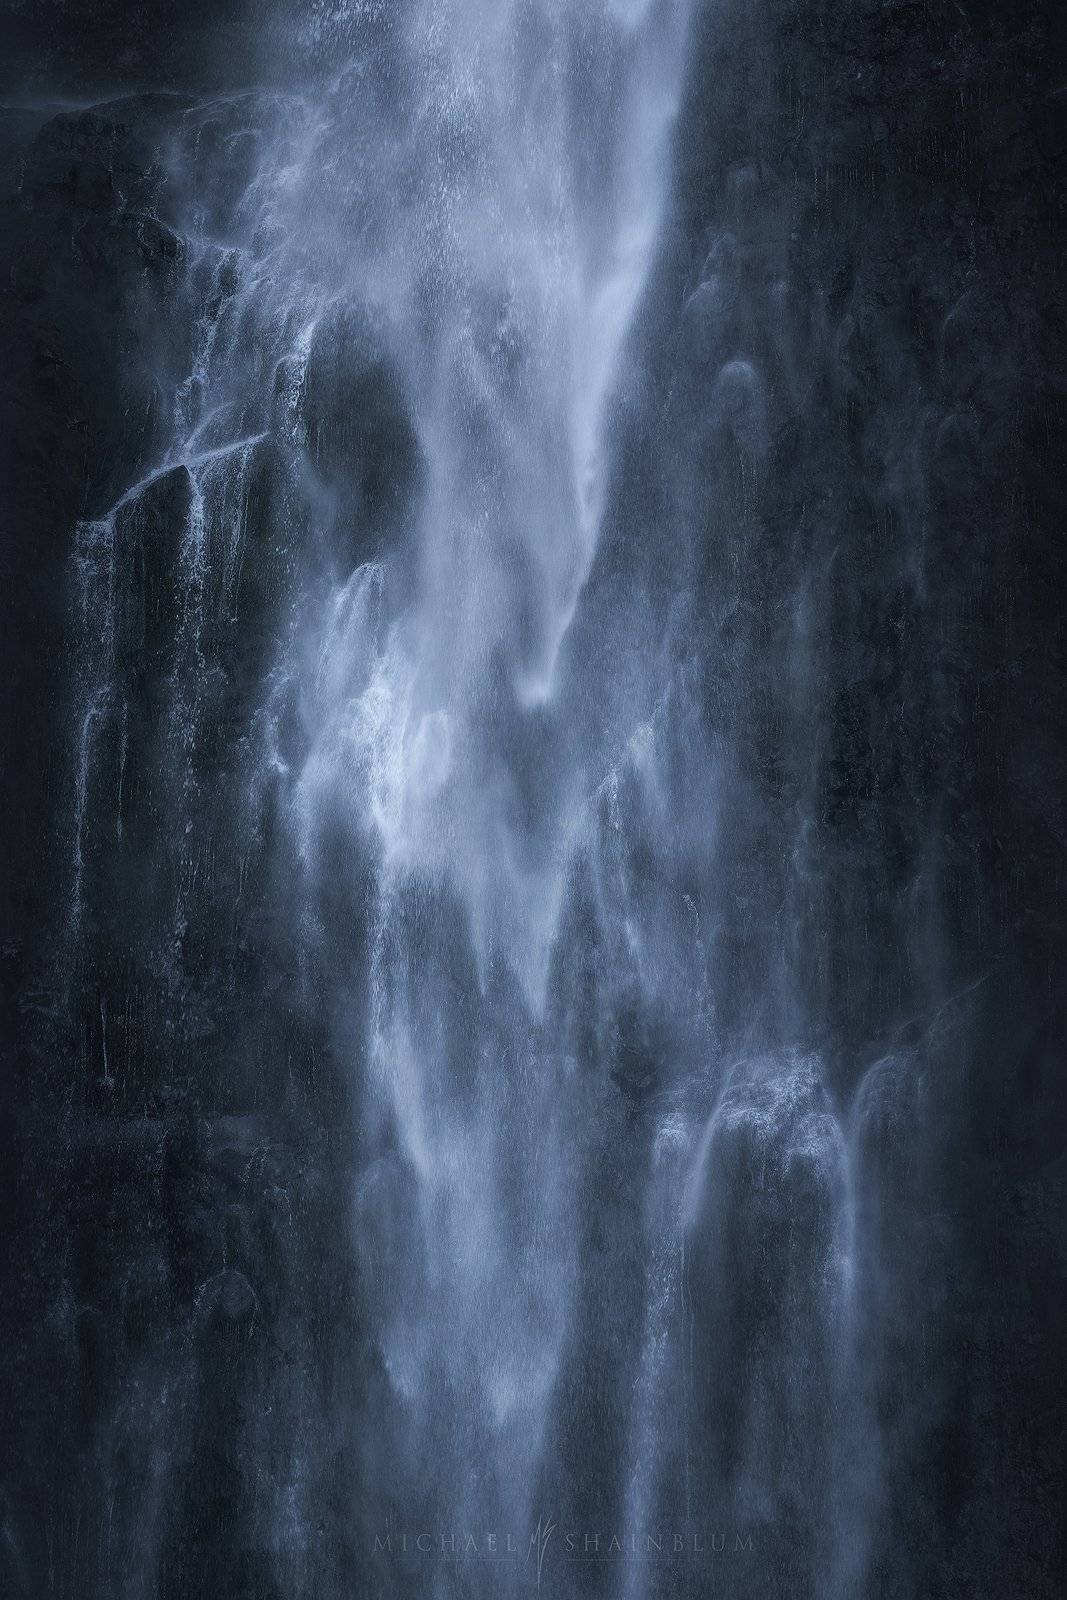

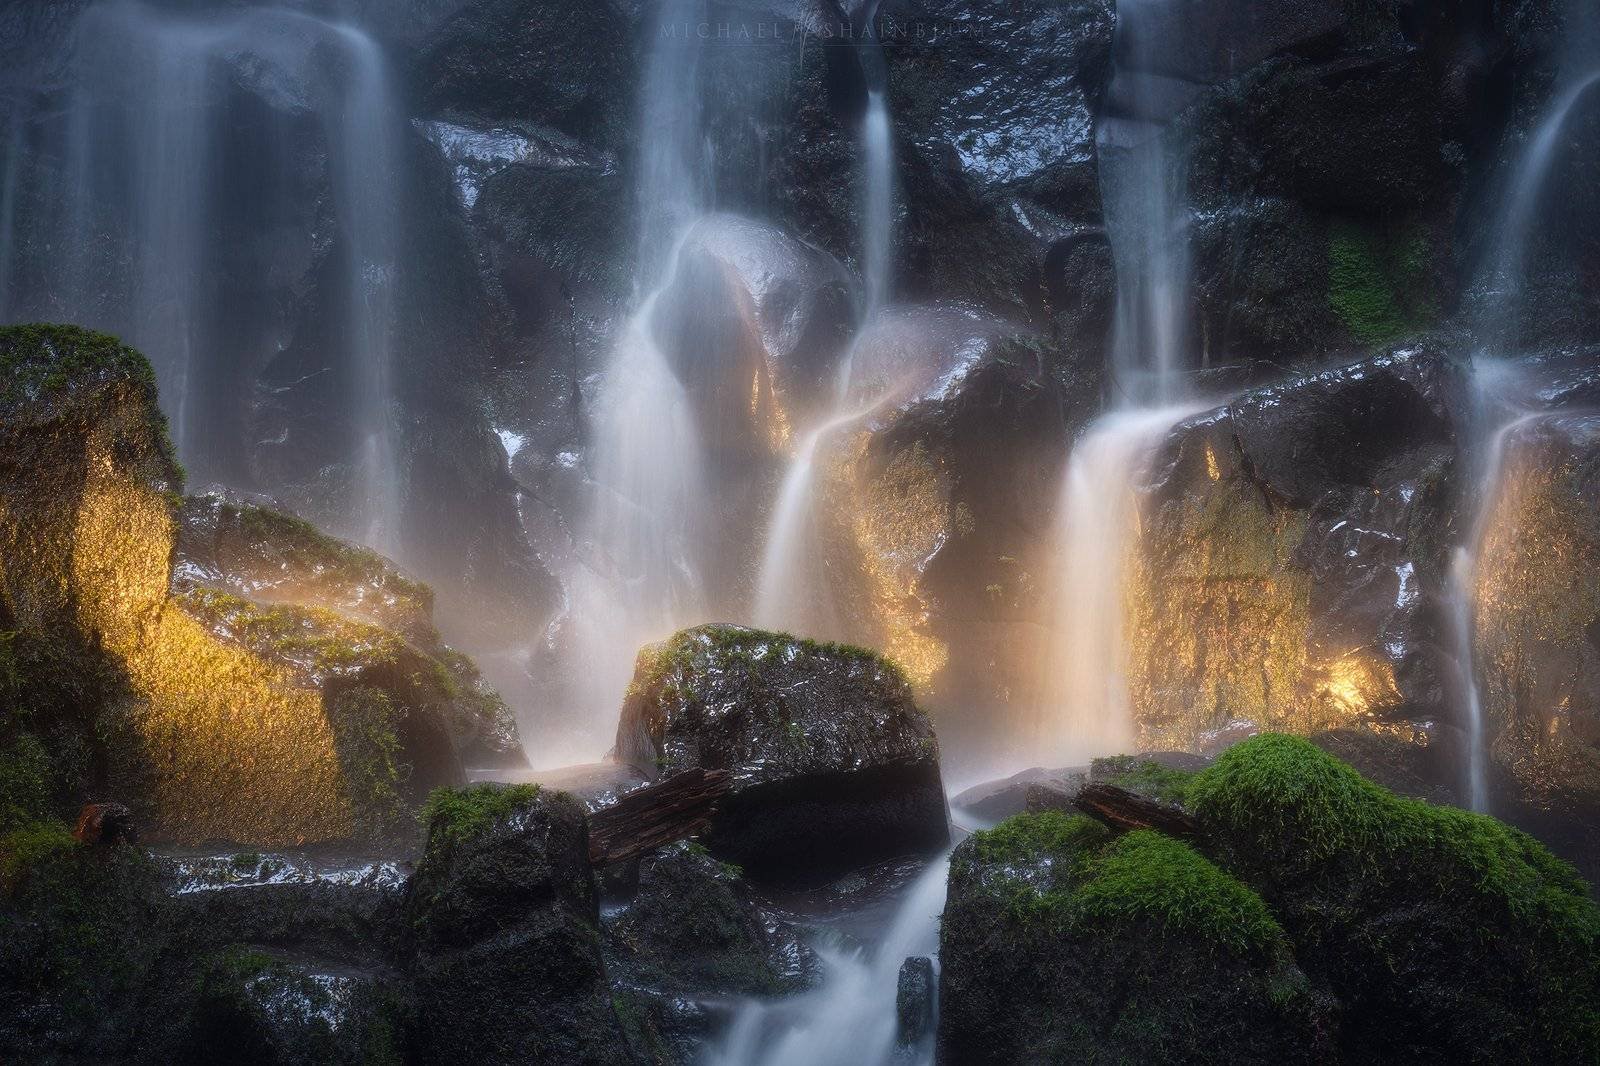
Here are three of my favorite shots from the video. The ethereal light here and diffusion from the mist made these images look like they were straight out of a fairytale. I tried a short exposure for that middle image by bumping my ISO and the Fstop down, I am really happy with the variety here.


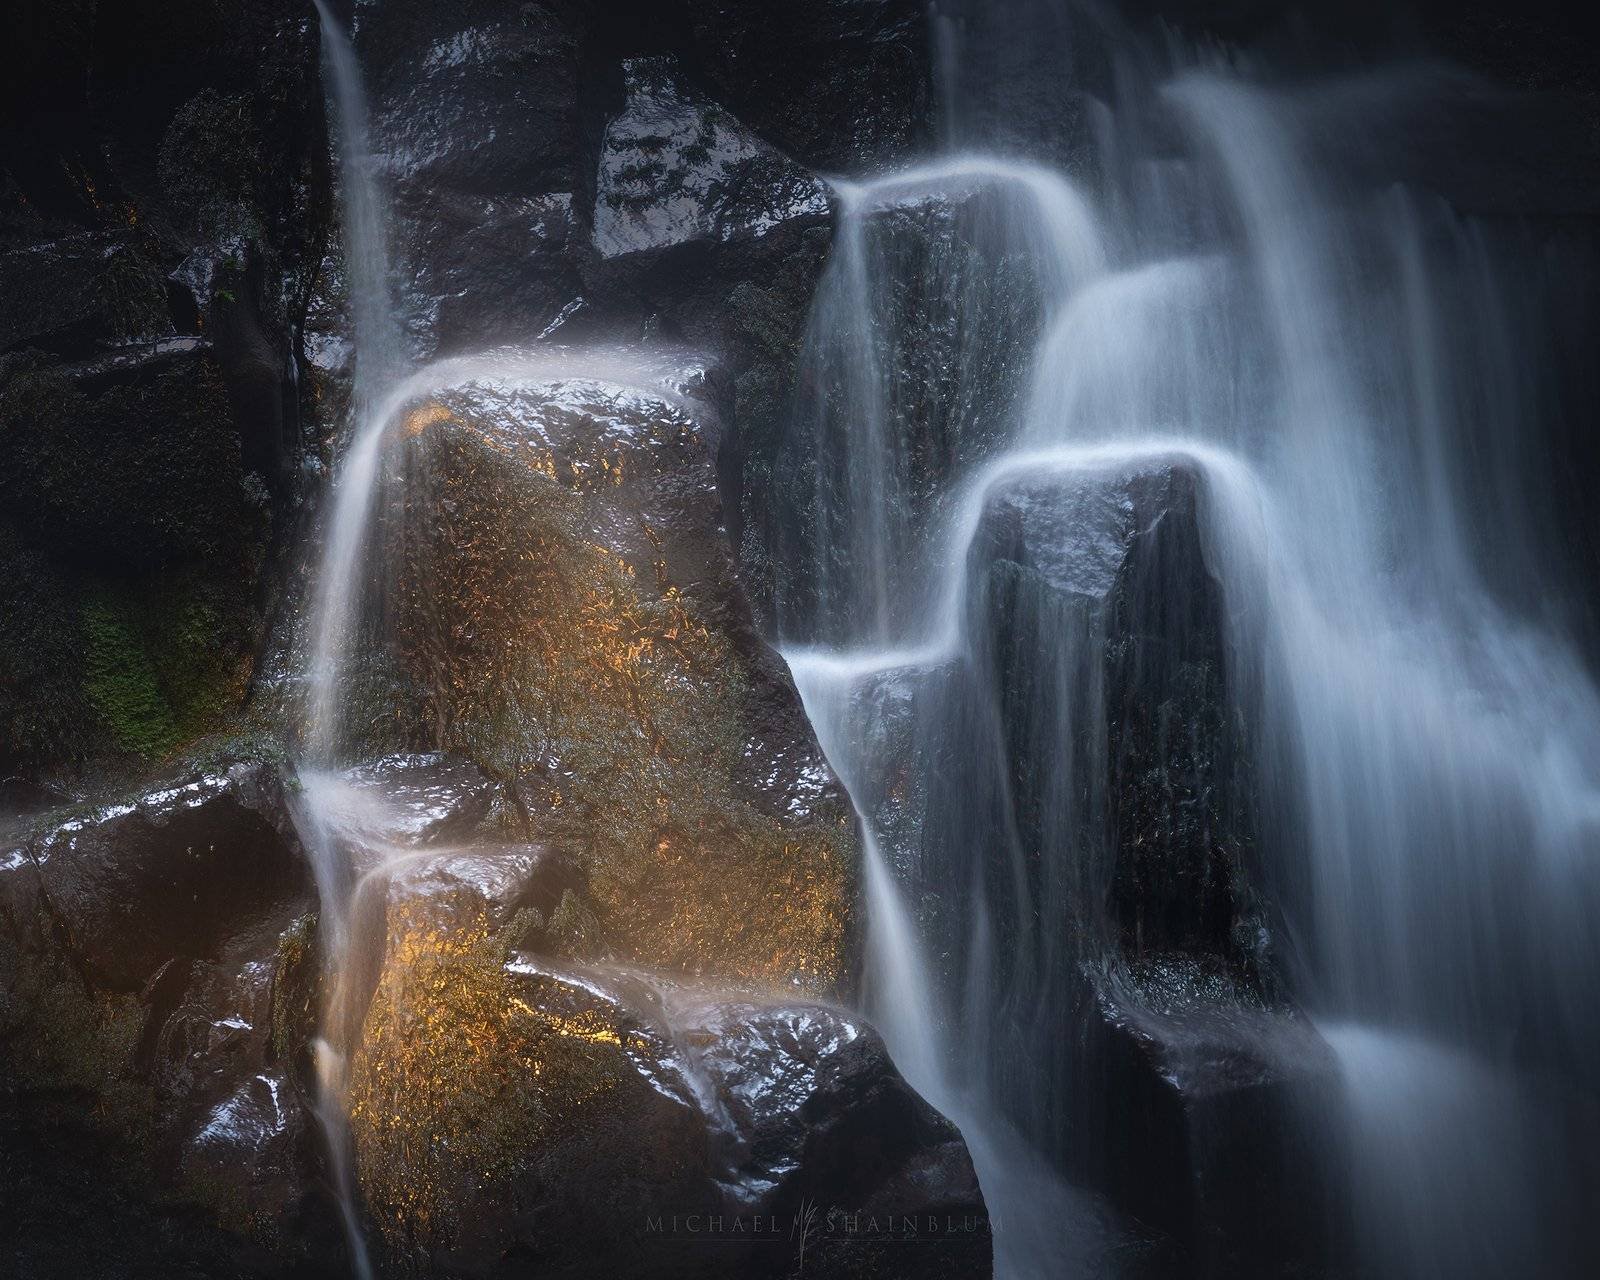
Here are two long exposures at different focal lengths, the first is at about 35mm and the 2nd is at 400mm. Both hold the same principles and focus in on a specific pattern or shape within the bigger waterfall. The main difference is how far I am standing from the falls. In the first image, I walked quite close to isolate this perspective, whereas in this 2nd photo I am using the attributes of the lens to achieve a similar result. So if you don’t have the reach of a 400mm lens, no problem, try getting a bit closer if you can.

I love creating scenes where the subject ends up representing something completely different than what it actually is. In this first photo, these little tufts of moss to me look like little alien creatures.
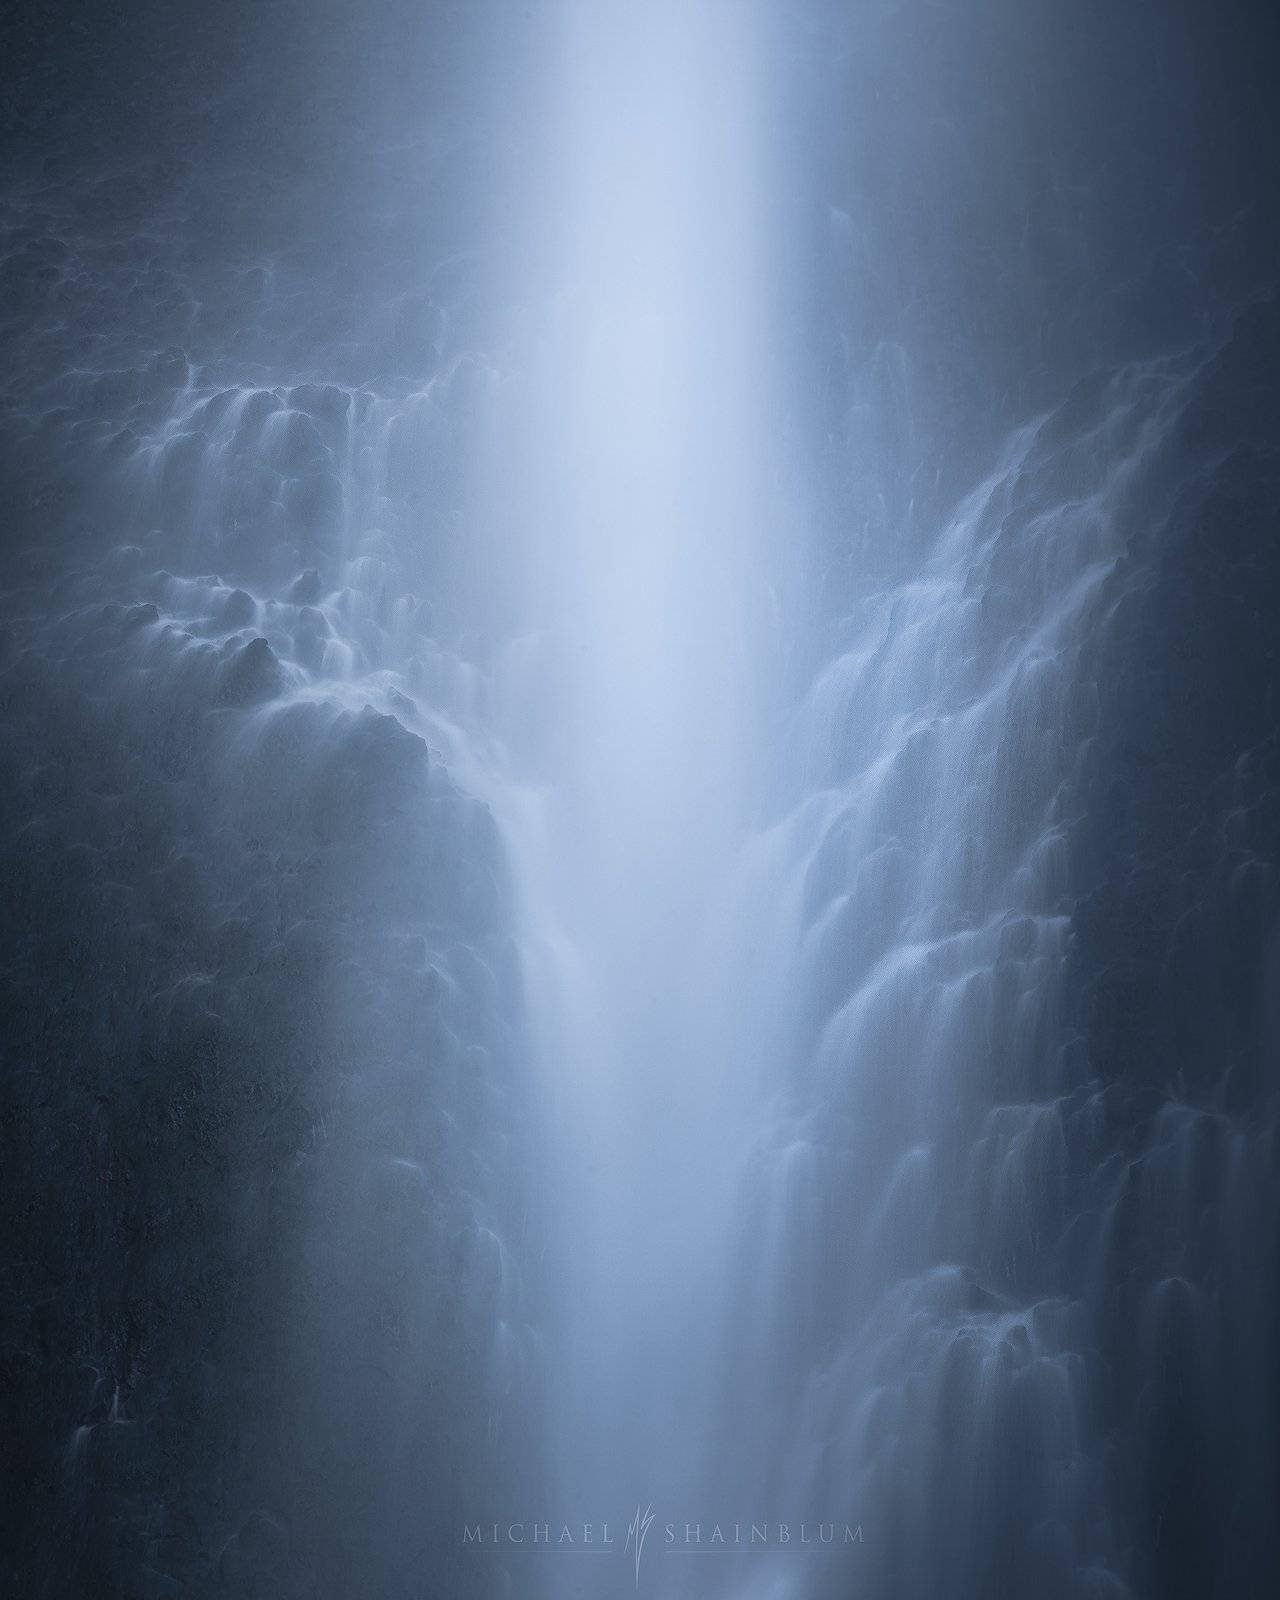
Two more images that evoke a fairytale story in my head. The first image feels like a scene from a UFO movie with a giant beam of light shining through an alien world. The second looks like ghostly spirits shooting up into the sky. These types of photos are my favorite to capture and process.

So while the main purpose of this article is to share telephoto long exposure waterfall photography. I still do love capturing a wide-angle waterfall scene from time to time. Here is one above that I am really happy with.
So, what is the key to creating great long-exposure waterfall photography? Well, it’s not exactly using a telephoto lens. That’s just one technique that I really enjoy using personally. But really, the main takeaway here is to be creative. Creativity is the key to any style of photography, especially waterfalls. Do not just take the most obvious composition of the waterfall that presents itself.
If you are using a wide-angle lens, try moving around the falls. Look for exciting foregrounds that can lead you into the composition and tell a story about the location. Also, look for different framing elements. If you do decide to use a telephoto lens, really study the scene to find those interesting patterns, shapes, and textures. Use the lens to transform the waterfall into something different than it actually is. This is all easier said than done, but it’s all about practice and experience. In my experience the more fun I have and the more time I spend in the landscape, the better my shots turn out. With that, I really hope you enjoyed the video, article, and images!
GEAR I USE:
If you use these links I get a small kickback from the sales. It really helps the channel and keeps me able to produce these videos. Thanks so much!
MAIN PHOTO/VIDEO GEAR:
Main Photography Camera: https://amzn.to/3j96BH9
Video Camera: https://amzn.to/3hZE9Z4
My Most Used Wide Lens:https://amzn.to/3zYPyhw
Night Sky Lens: https://amzn.to/2LLy2cn
Telephoto Lens: https://amzn.to/3zUckqU
Audio In Field Mic: https://amzn.to/3omtsRp
Lav Mic: https://amzn.to/35kxZei
Tripod: https://amzn.to/34hB3s5
Drone: https://amzn.to/3ocYjzy
SMALLER GEAR I USE OFTEN:
Rocket Blower: https://amzn.to/3ocXczS
Lens Wipes: https://amzn.to/31LLhzF
Timelapse Remote Sony: https://amzn.to/3mmHf8L
Timelapse Remote Nikon: https://amzn.to/3jguNFn
Mini Tripod: https://amzn.to/35jzsRX
Drone Filters: https://amzn.to/2IQ1Mnr
Hello, Michael! I am Danilo, from Brazil, and I am a photographer too. I must say your work is amazing and I’ve been learning a lot with your tips and techniques. I put them into practice with my students and on my own. Thank you for your videos and articles on your blog.
Totally Awesome Shooting , loved the entire presentation. Thanks for sharing!!!!