How to Shoot Long Exposure Photography & Fog
If you do not like reading you can check out my new Youtube Video that covers how to shoot fog and long exposure photography
Want to learn how to shoot long exposures and capture fog photography, well you are in the right place, lets dive in!
How To Photograph Fog (Gear & Scouting)
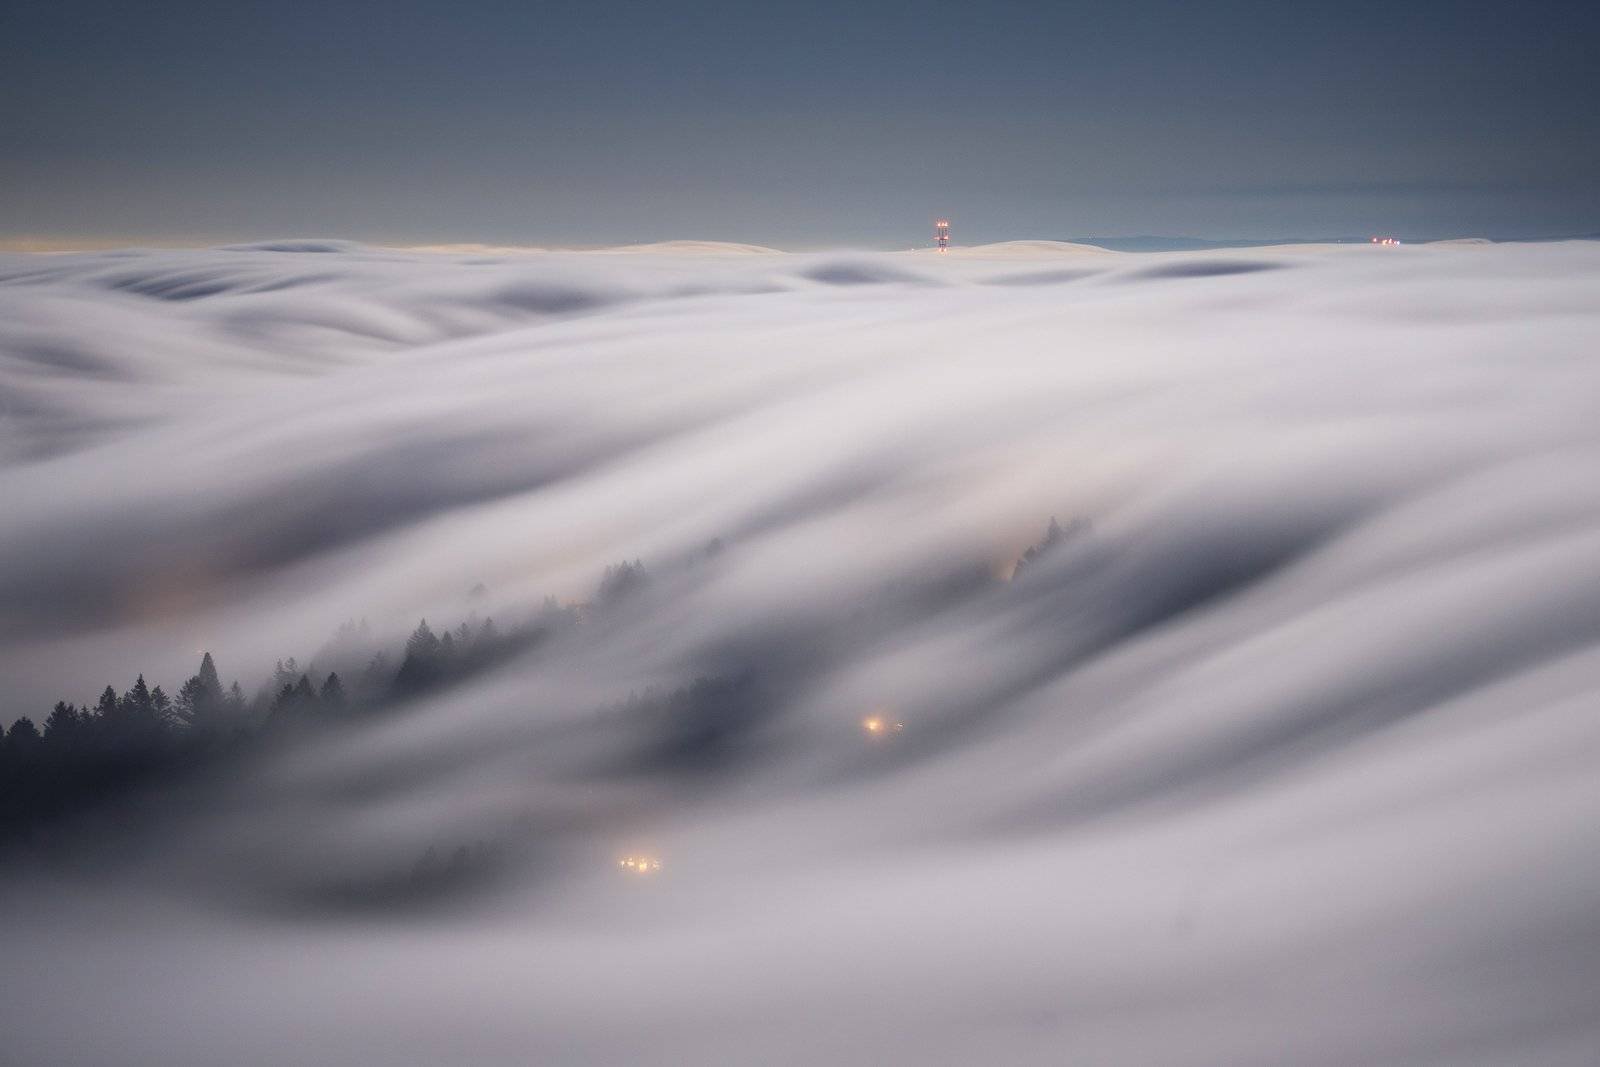
Ok so let’s talk a bit about scouting, I often get asked how I find different vantage points to get above the fog. I live out near the California coast and there is a bounty of amazing hills/mountains to get an elevated perspective. On the California coast, the fog forms out to sea during the summer months and is quite frequent. Depending on where you are based capturing fog will be a completely different experience. If you live in a mountain area, you might have some great opportunities for cloud inversions around the mountain peaks. If you live near a lake perhaps you can catch the mist forming in the early morning before sunrise. It’s worth doing some research into the weather patterns of your specific area because this will change based on where in the world you live and what type of fog you are attempting to capture.
For scouting, I use Google Earth to find interesting perspectives to capture the fog. When I find an interesting hill or peak, I will then research the logistics of getting up to the top. Maybe there is a road that goes up, or a hiking trail to check out. For trails, I will search the peak in Alltrails to see what is available. This also gives me a good idea of the elevation. After that I make pins of each perspective I find, I will usually save these on Google Maps so I can refer back to them later on.
Weather apps such as Windy or sites like NOAA can be very helpful for predicting fog. Also, use local webcams to get a good idea of what is happening in real-time.
But my personal favorite method is to JUST GO. Most of the time I look outside, if it’s foggy, I pack my bag and JUST GO. These are the moments when I have gotten the best conditions or the most interesting shots. At the very worst, you do not get incredible fog and you still get a nice outing in nature. It ends up being a win either way. Sometimes as photographers we spend way too much time overanalyzing every little detail of a shoot and end up missing so many great opportunities. I have been guilty of this many times in the past.
Let’s briefly talk about gear. which is my least favorite thing to cover, so let’s get through this part quickly ;). If you want to capture long exposures the most important pieces of gear will be your filters and a nice sturdy tripod. The filters I generally bring with me are a 6Stop ND filter, which I use for evening and dawn images. Then a 10Stop ND filter which I use to create long exposures during daylight. These filters will decrease the amount of light entering the sensor and allow you to drag your shutter speed to create the smooth long exposure effect (more about this later on). As for tripods, I would recommend getting something nice, do not skimp, and get a 20-dollar tripod. You do not need to spend thousands on a top-of-the-line one. But remember you are about to put thousands of dollars worth of camera gear directly on top of this thing. So getting something decent is a good call.
When I am shooting fog most of my favorite shots end up being with a telephoto lens. I love capturing scenes out in the distance and picking out little moments of simplicity. So for me, the 100-400mm lens ends up being crucial. Occasionally I will also find some interesting moments with the wide angle and midrange lenses. Any gear you have will work for fog photography, you can even use your phone nowadays and get some great stuff. An additional piece of gear you can get is a shutter cable release, but for myself, I find the camera self-timer does the trick.
How To Photograph Long Exposures (Settings)
So now that we have our cool camera and we are standing at a cool spot. Let’s take some cool fog shots. Settings are an interesting topic to cover because they are so variable. I change my settings constantly for images like this to achieve different results and get a unique look to each photo.
To start let’s talk about some of the constant settings to consider. The first is autofocus, let’s go ahead and turn that off. When shooting scenes like this you will probably want to focus manually to infinity and then just leave that setting for the rest of the shoot. All of the images in the article were shot at infinity. If you need to include foreground elements then it’s a bit of a different story. If your lens has image stabilization turn that off too, it can create unwanted blur in your images. I also leave my camera on the 10-second timer mode so that I do not shake the image while the camera is exposing.
THE MOST IMPORTANT SETTING: SHUTTERSPEED
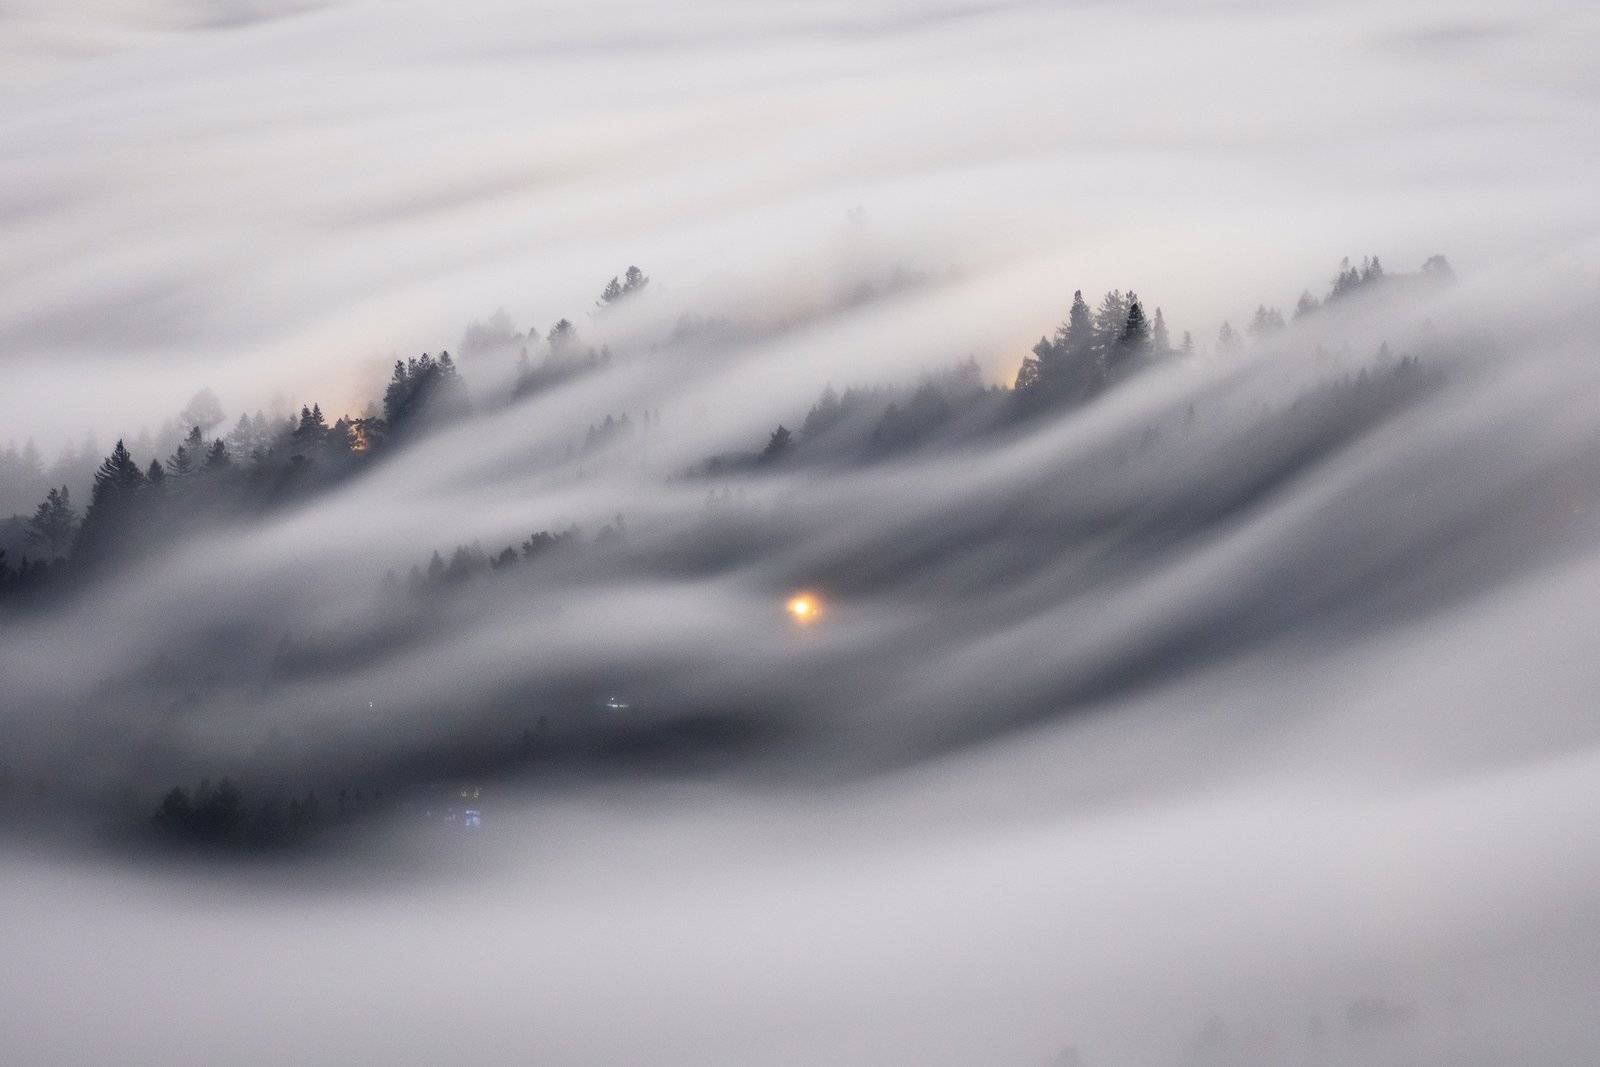
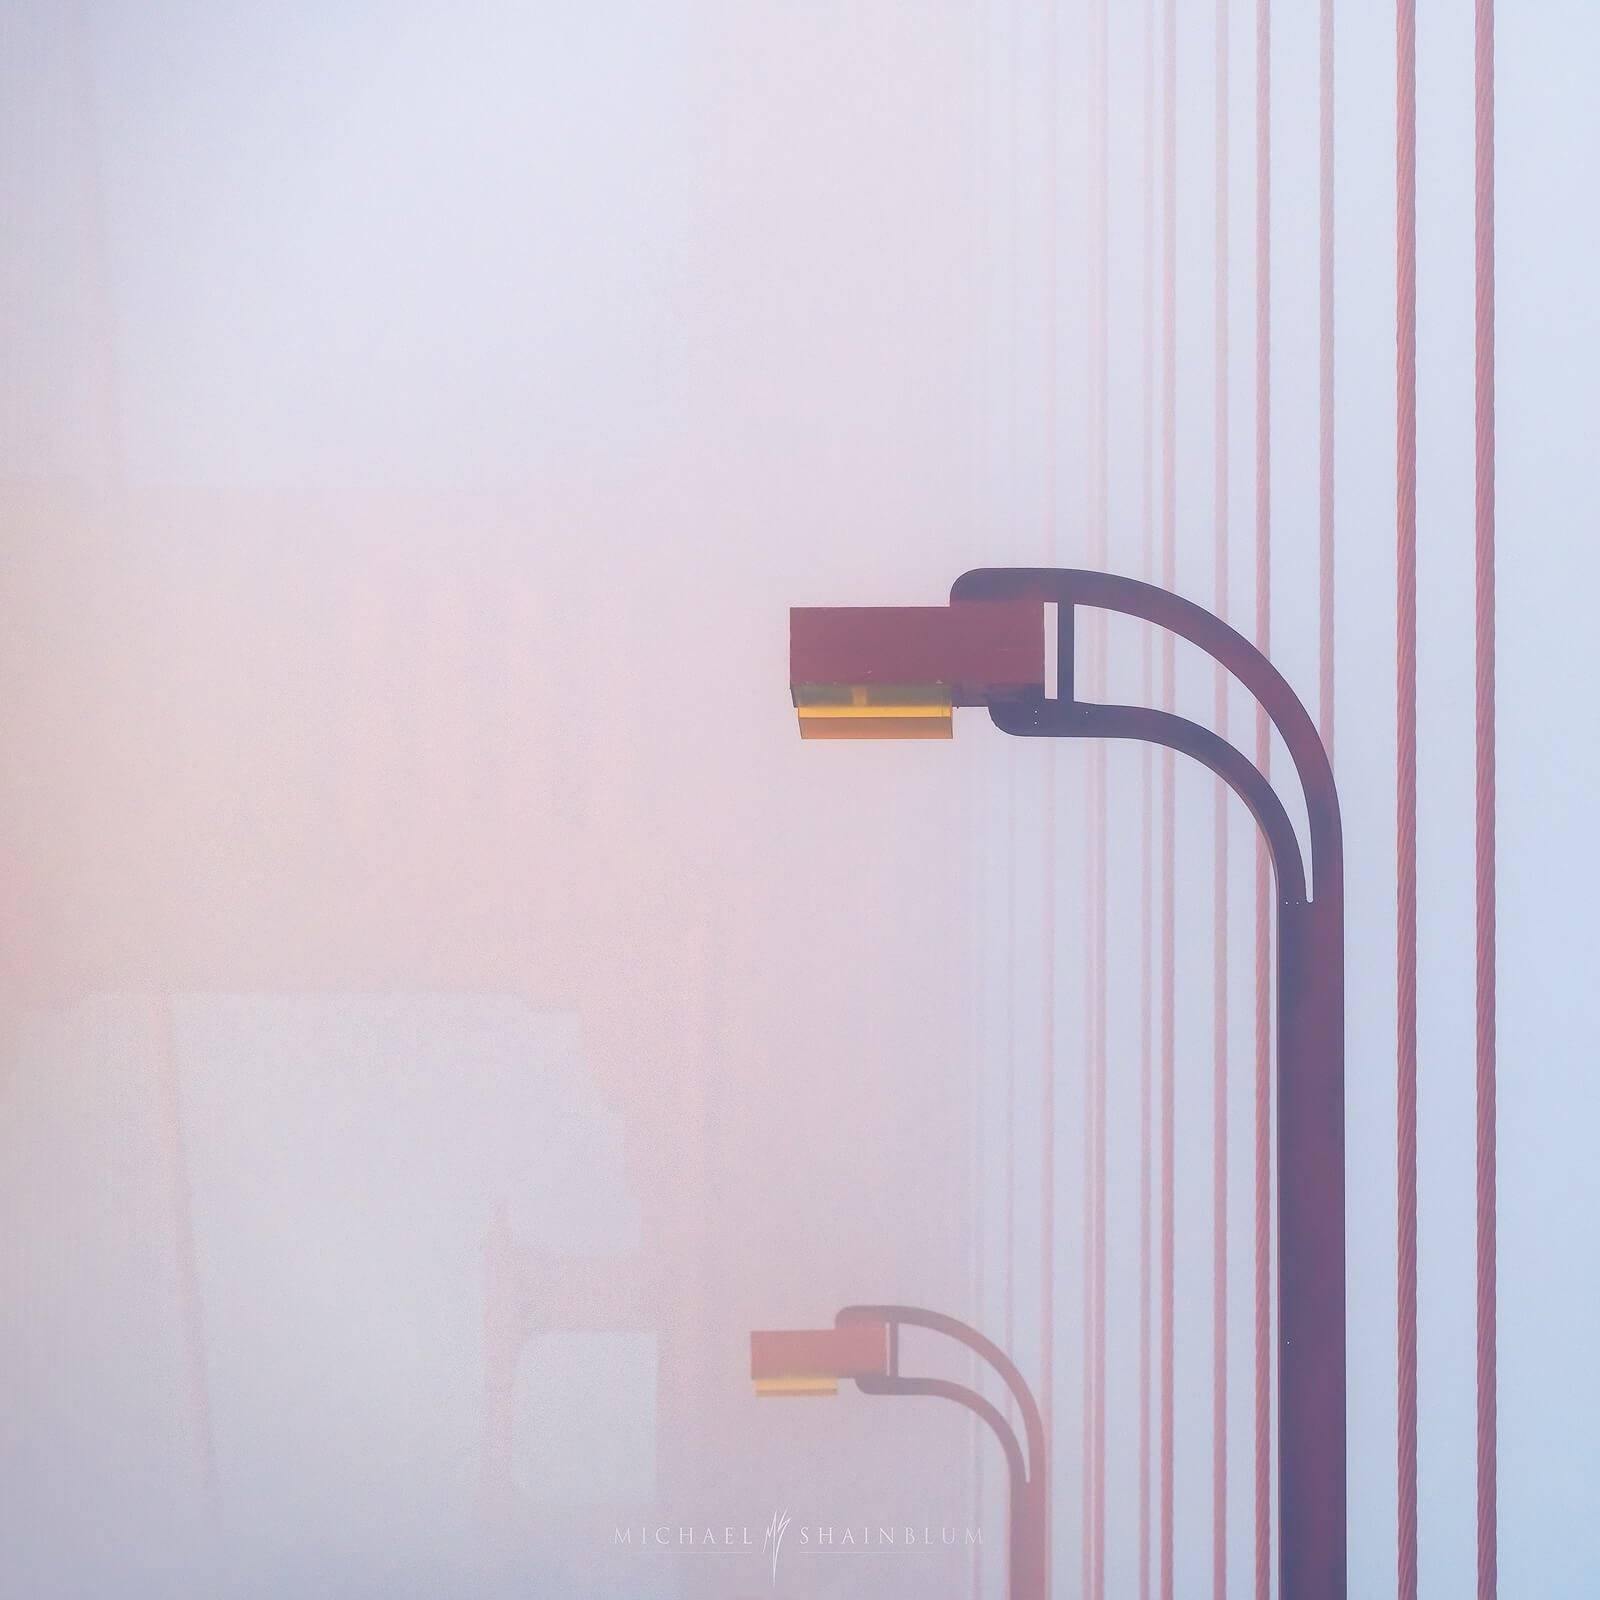
So when it comes to settings shutter speed is going to completely change the look and feel of the photograph. Doing a 30-second or 1-minute exposure can give you a super smooth eternal image and give the image more of a fantasy look. But sometimes that might not be what you are looking for. In the video, I actually shift my shutter speed to a 2-second exposure for one of the shots, because the 30 seconds was too long. Which took away some of the interest I was going for. Sometimes a shutter in between will be what you are looking for as well. I have gotten great results playing with 5-10 second exposures. The key is knowing what you are looking for motion-wise in the shot and experimenting with the shutter speed while you are on location. If you do not know what something will look like, make sure to give yourself enough time to test out some different options. A good general rule of thumb is the quicker something is moving the faster you can have your shutter be and still achieve a long exposure. For example, with a telephoto fog image (where I can see the fog moving in real time) I can even achieve nice motion in 1-2 seconds. Whereas if I am using a wide-angle lens and I want to show the clouds streaking across the sky. That might take a 5-10 minute exposure to really see the motion. Also long exposures may actually ruin some of what makes the shot interesting. For example, in the video, I capture some shutter exposures where the texture of the fog really enhanced the composition. I was really glad to do both techniques to see what worked.

Aperture and ISO, these settings are not going to matter as much for fog photography in my opinion. Most of the time I set my ISO as low as possible to 100. Then I shift the aperture based on where I need the exposure to be, this will depend on the ambient light, the filter I am using and the shutter speed I am looking to achieve. It’s really just a math equation. If you take away 6 stops of light from the camera with a filter, you will need to add 6 stops of light back with the shutter speed, aperture, and ISO. If you hate doing math as I do and you are looking to do 1-10 min exposures of fog. I recommend using Photo Pills, they have a great exposure calculator to help.
So now that are setting are dialed in it’s time to shoot. Compositional I love focusing on shapes, patterns, textures, and simplicity. Again this really makes a telephoto lens great for my style of shooting. I love finding little moments of interest out in the distance. But this is really subjective and is going to depend on what your style of photography is like. If I was to boil it all down in the most simple way possible just shoot what you think is interesting. If something looks interesting then shoot it. Once you review the image on the back of the screen you can start tweaking the composition to include more of the scene or less if you find areas of the image are distracting or uninteresting. I know this is an oversimplification of composition, but this article would be 10K words if we dove too heavily into it. If you would like to learn more about my thoughts on each image please watch the video at the top of the page.

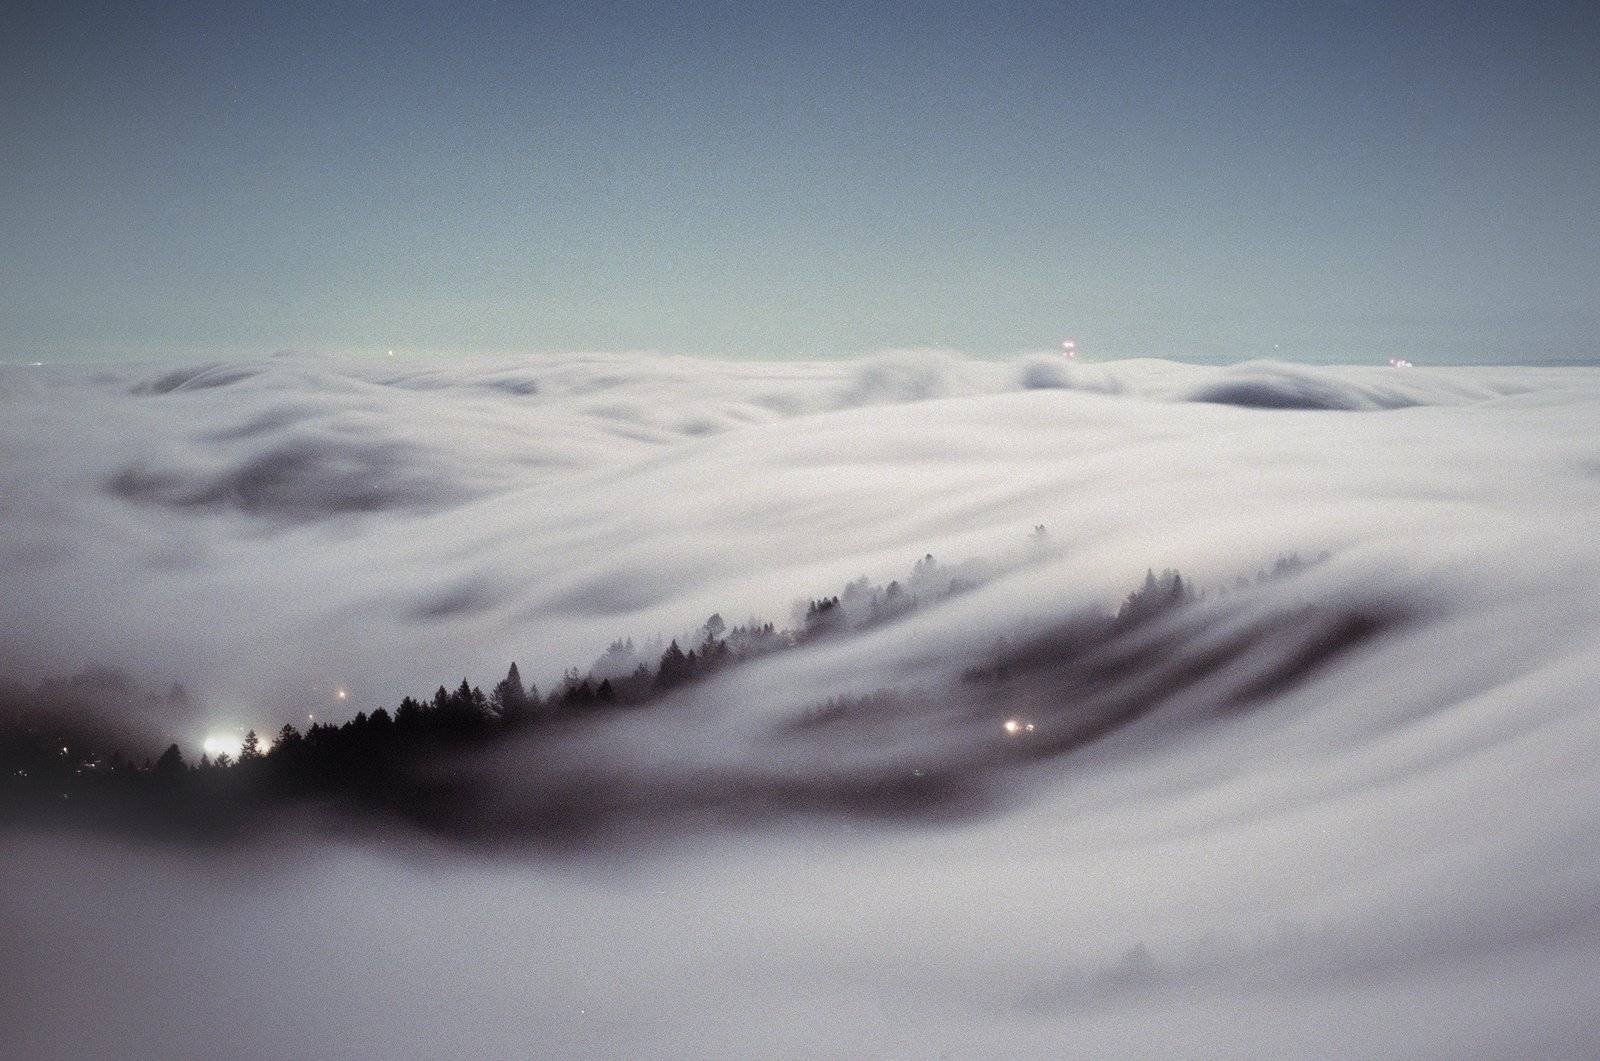
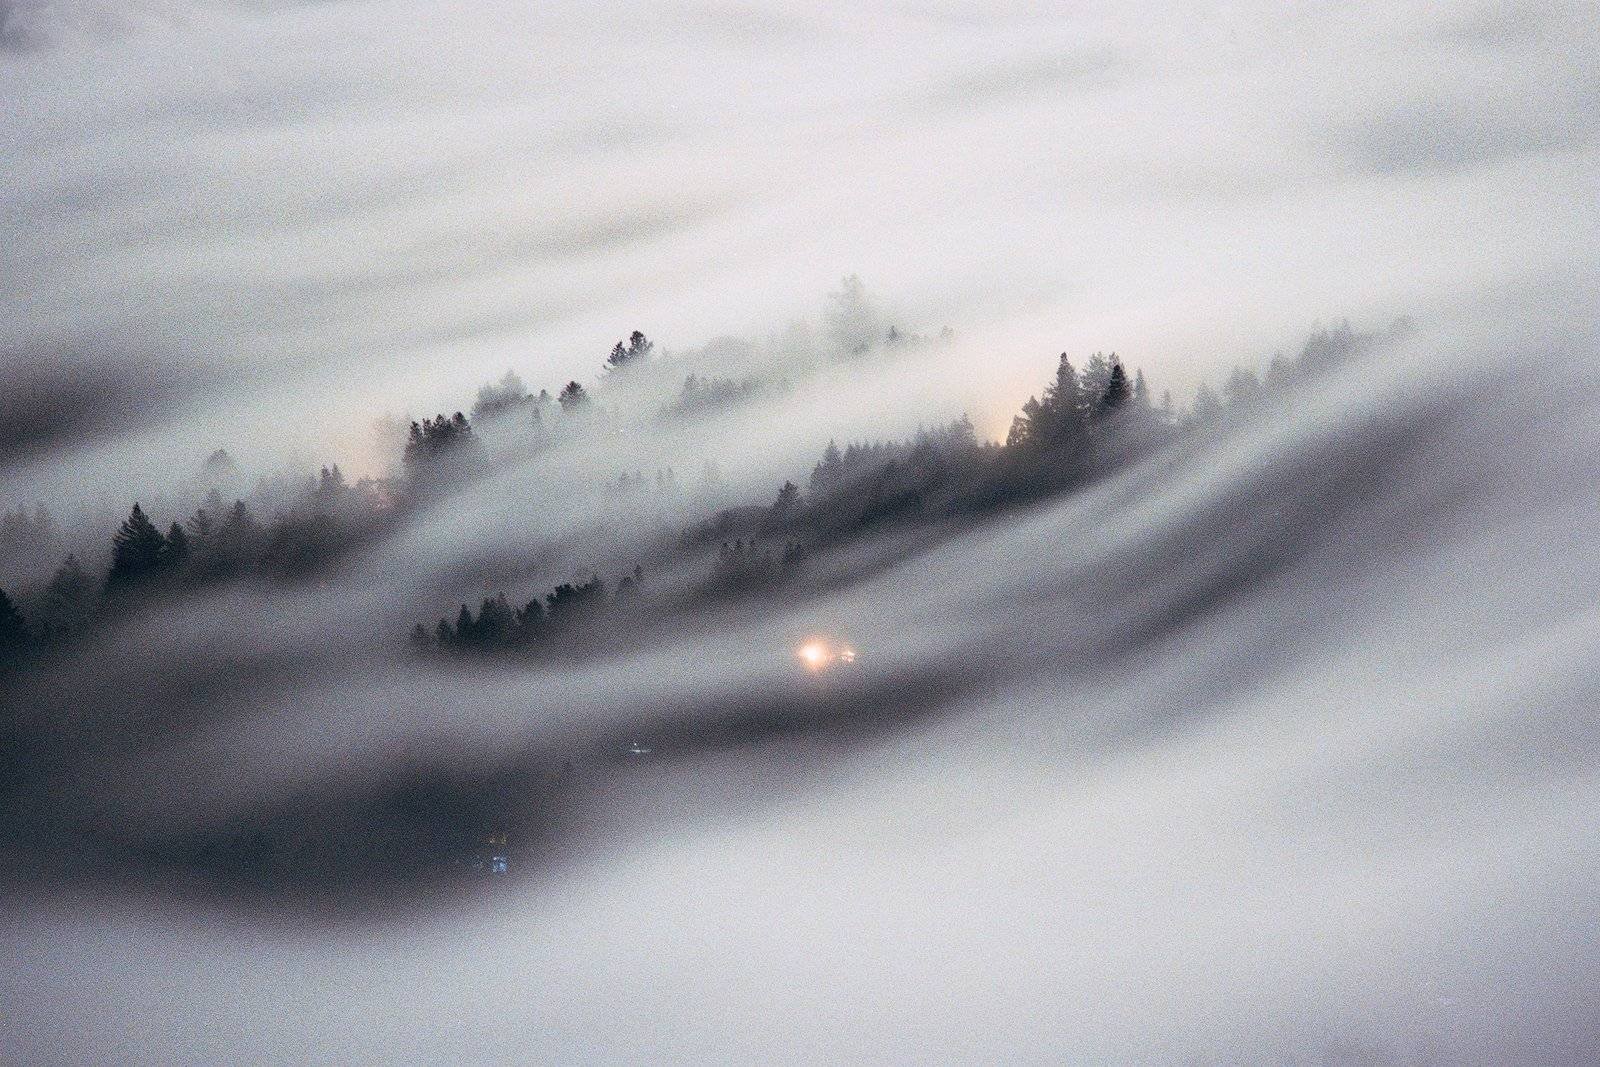
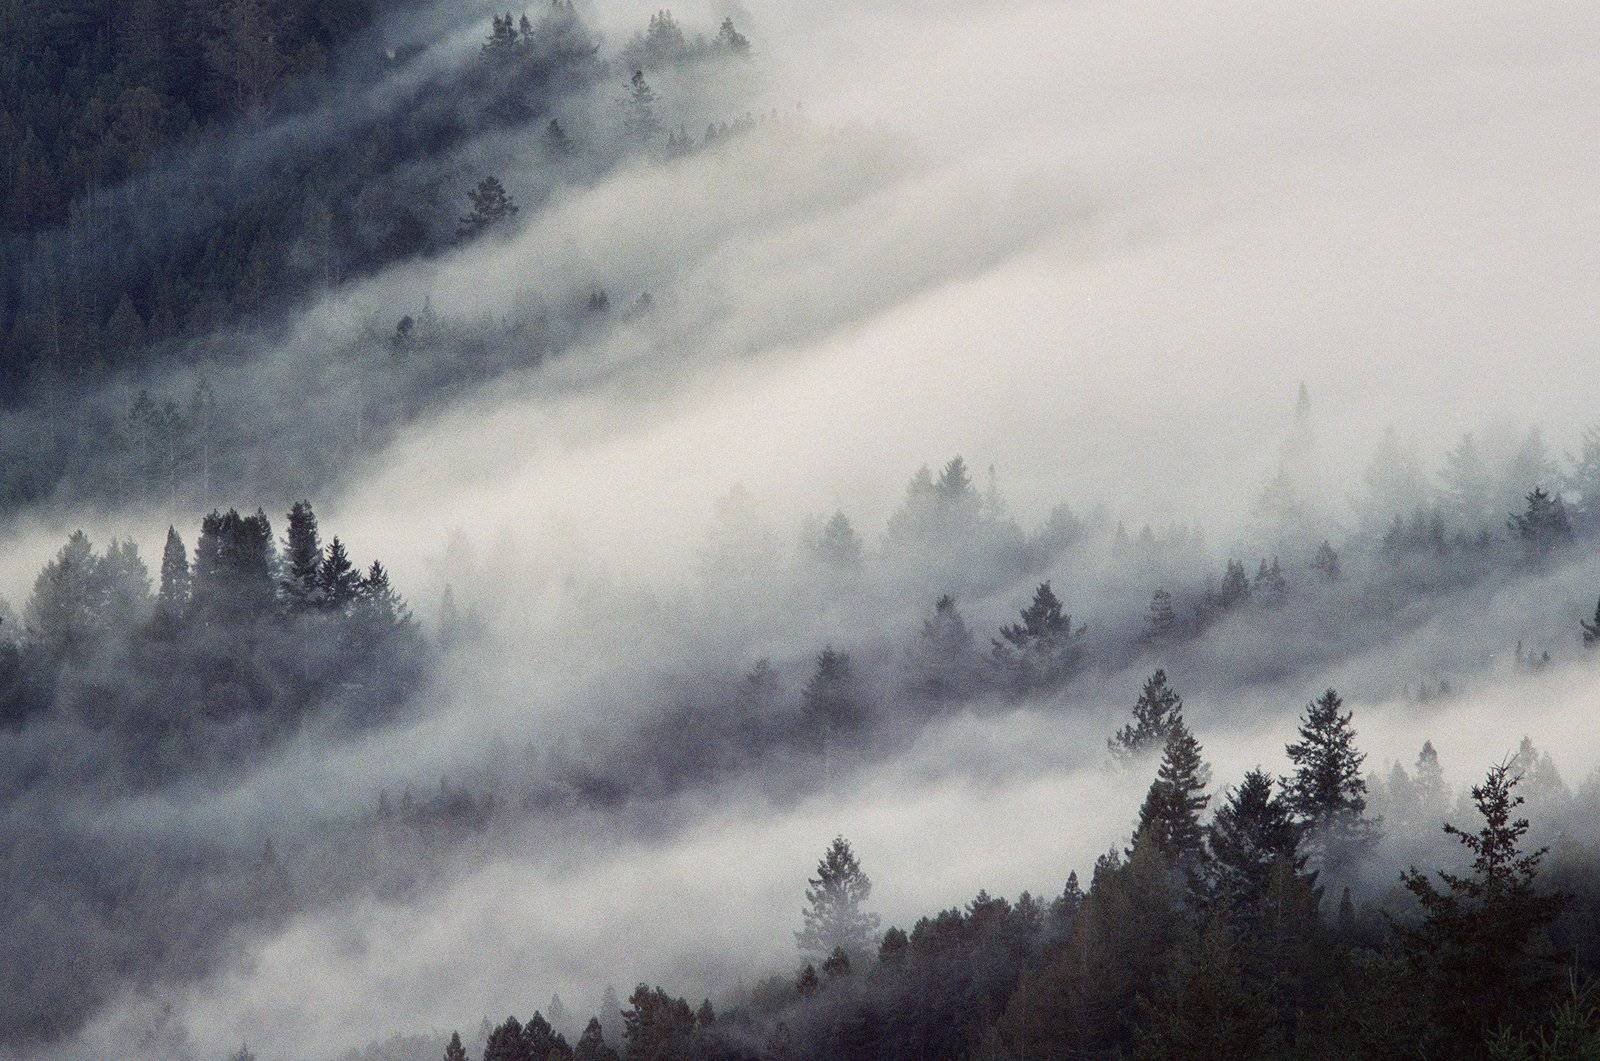
Here are two fog images that were taken with 35mm film on the same night. I love the bits of film grain and the unique colors here. These two were shot with Portra800. These were taken with an 8-second exposure on my film camera.
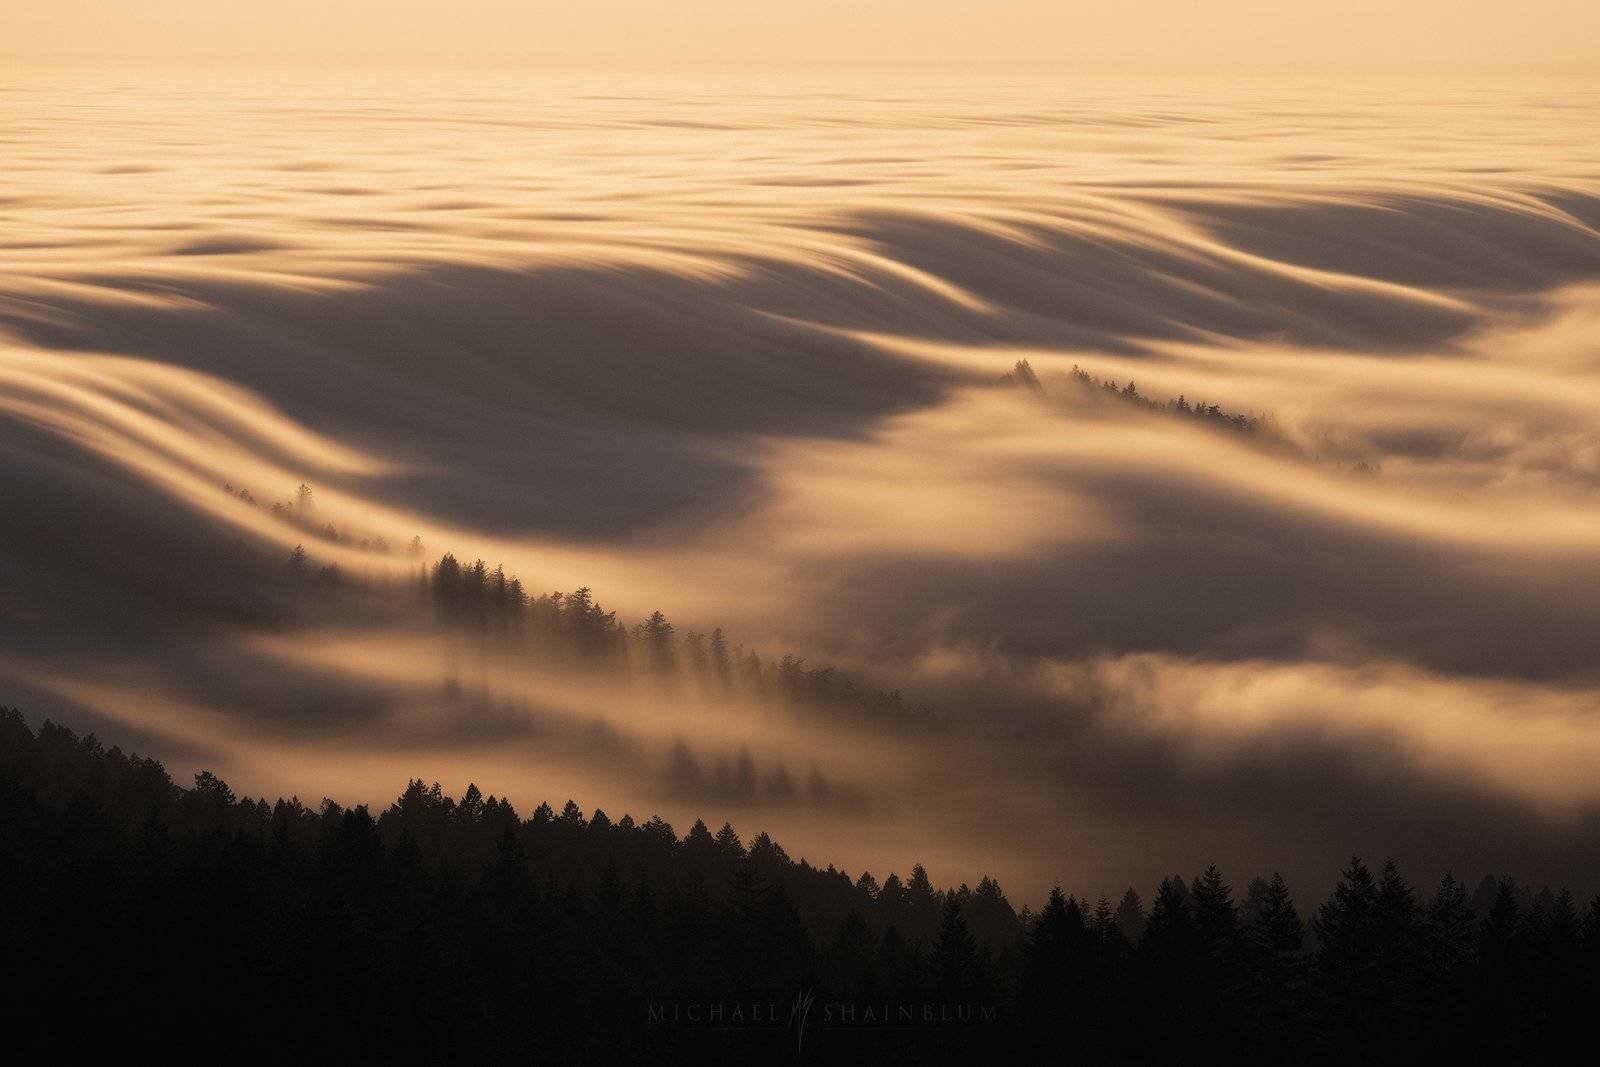
One more thing to mention before we end this article. I was able to take my filter off the camera about 10 minutes after sunset, that was the moment where everything was in enough shadow to achieve a long exposure without the 6stop filter on there. If you would like to learn how I post process my images, consider checking out my lightroom masterclass.
That is going to wrap it up, I really hope this was helpful and you learned how to photograph long exposures/ fog. Please share the article if you enjoyed it!
Thank very much
Your explanations are fantastiqs, and, I can only thank you for your time and willingness to teach us.
My best regards
Filipe Ondas